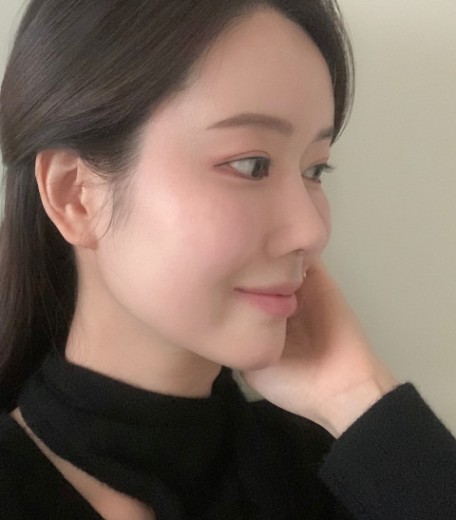
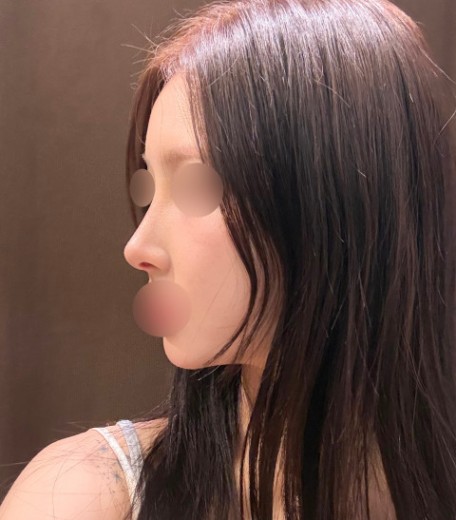
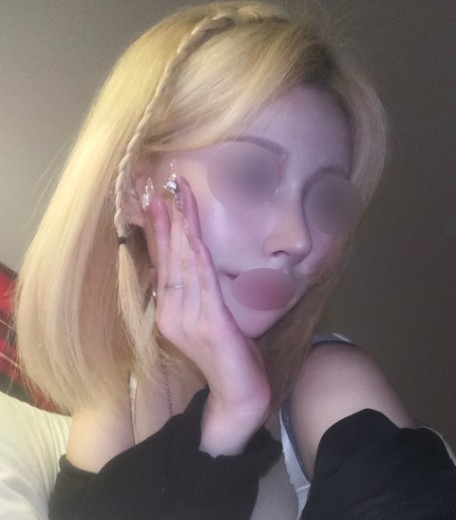
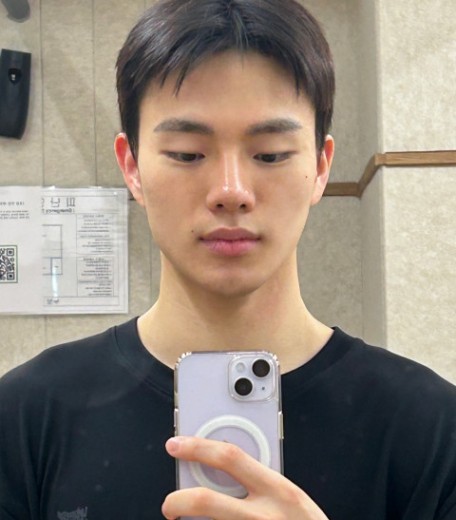
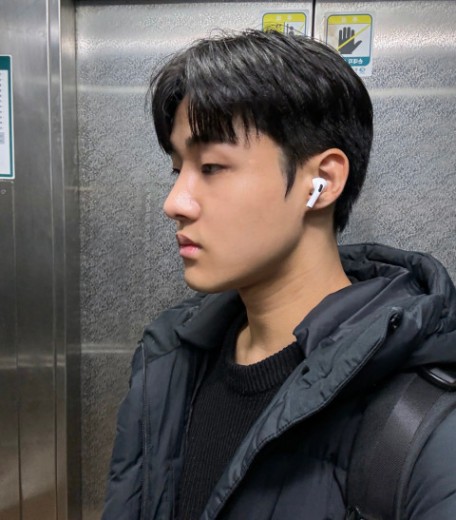
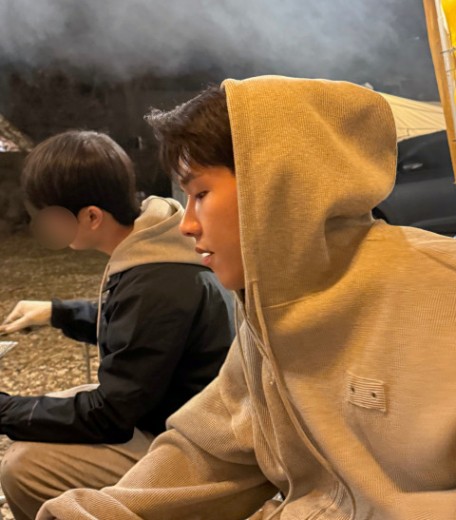
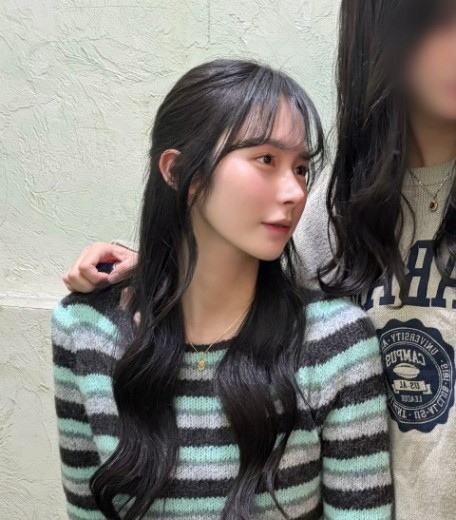
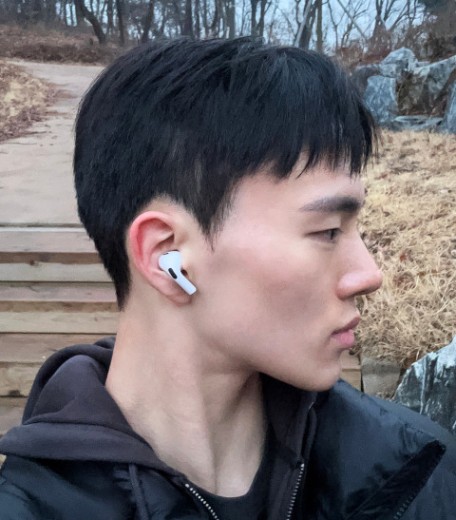
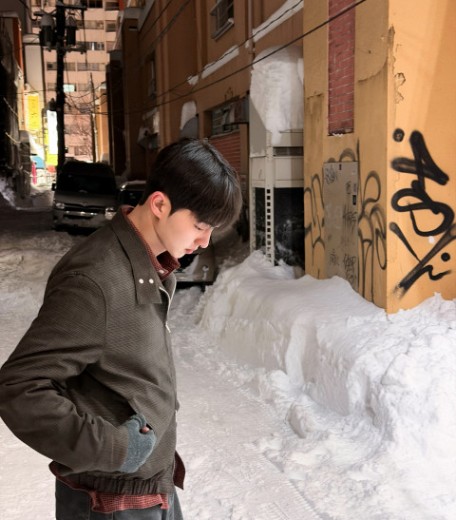
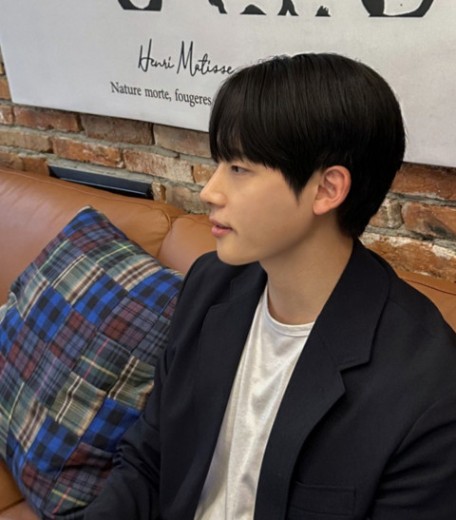
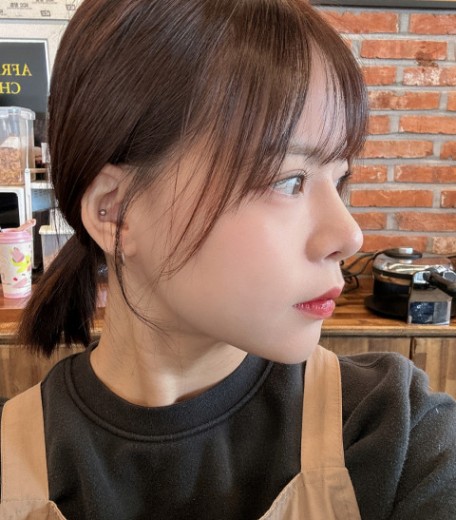
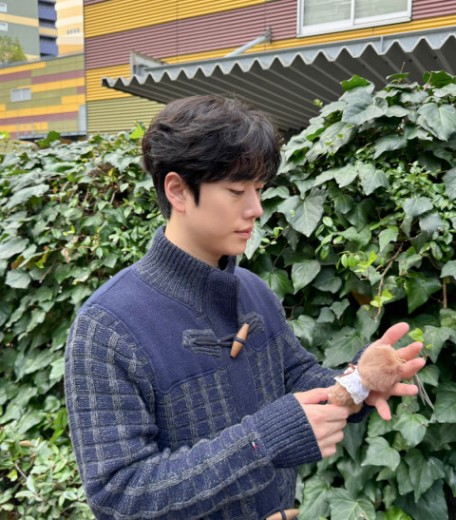
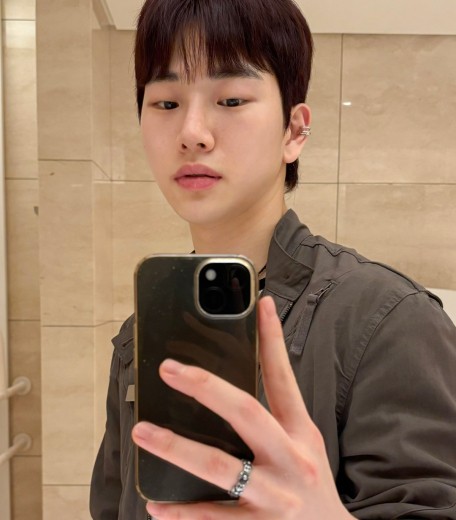
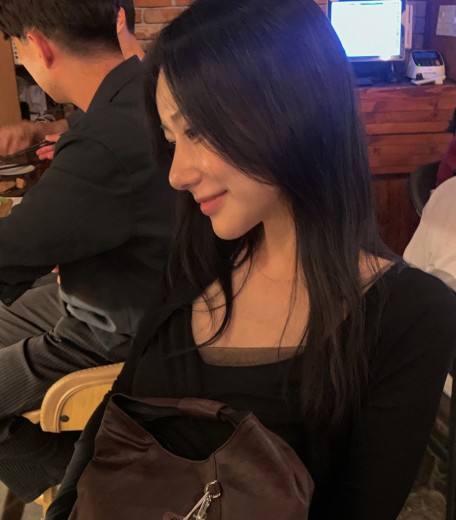
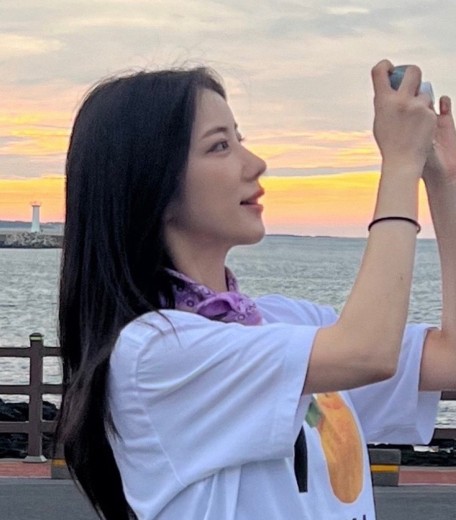
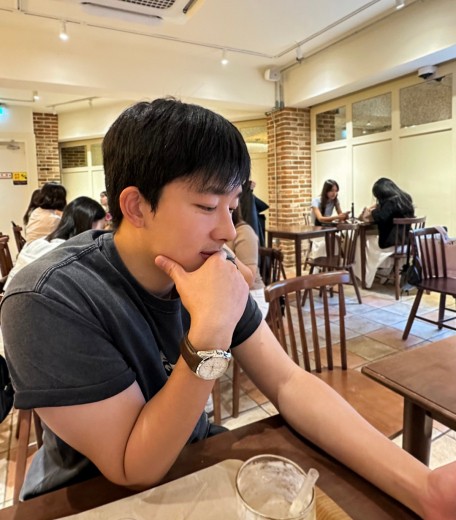
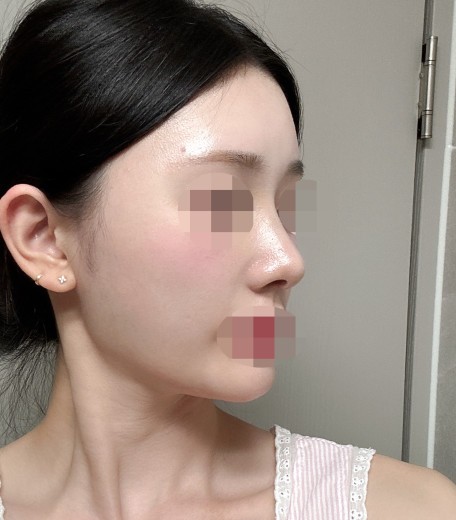
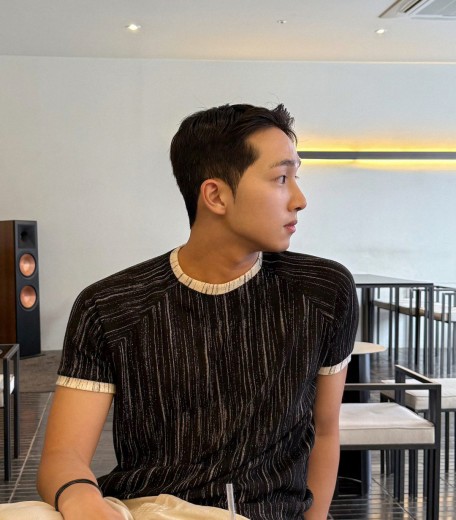
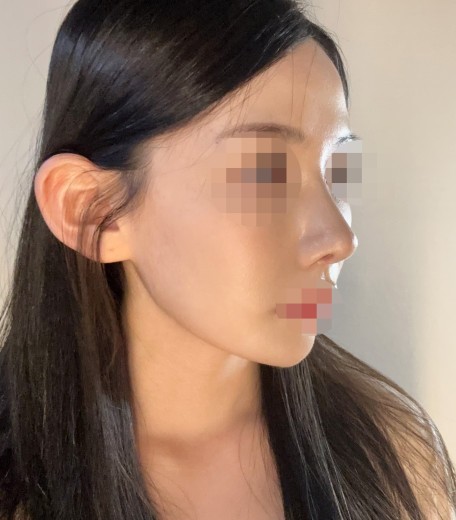
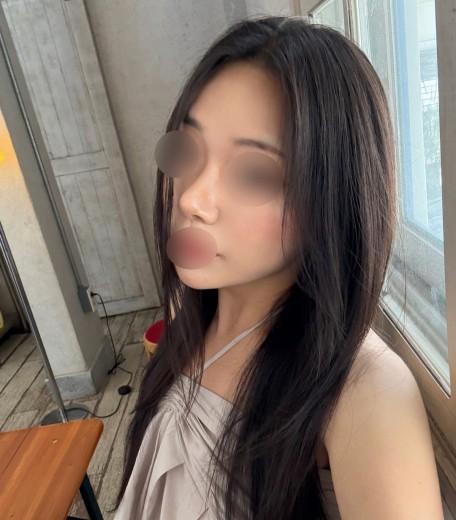
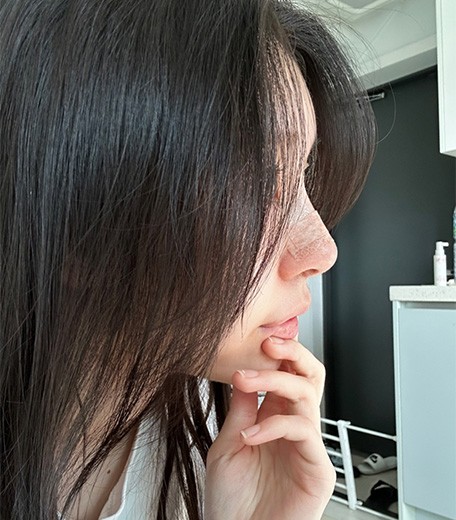
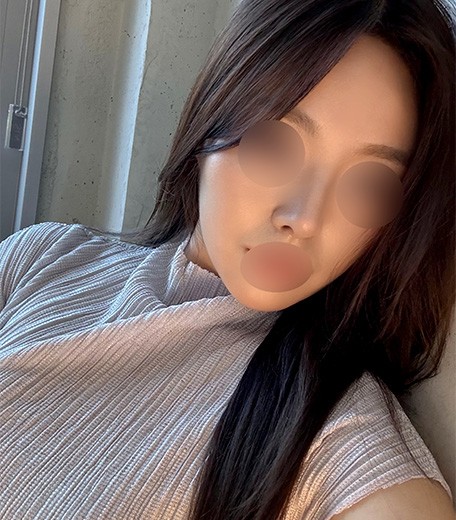
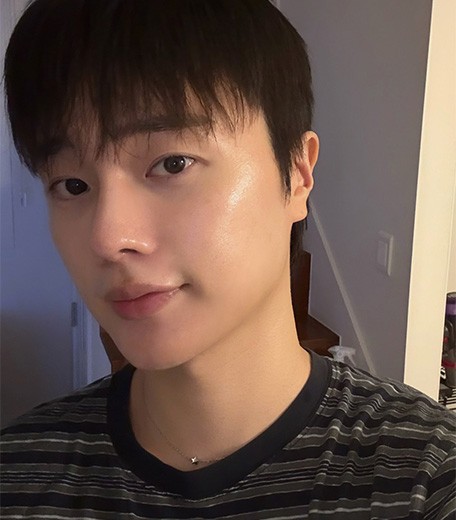
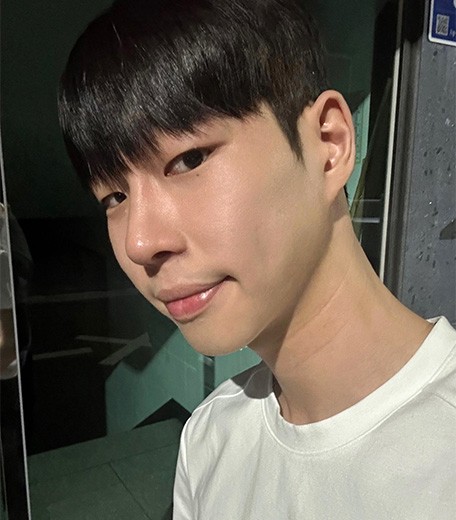
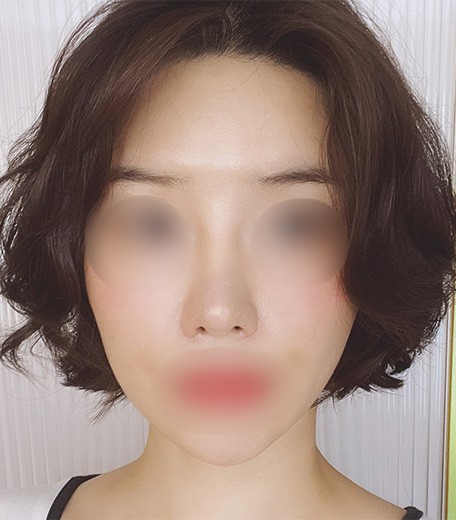
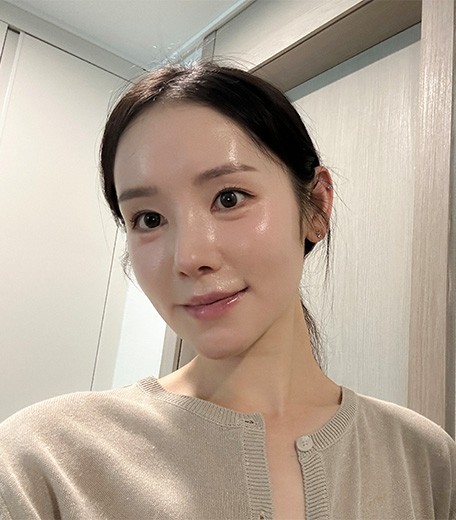
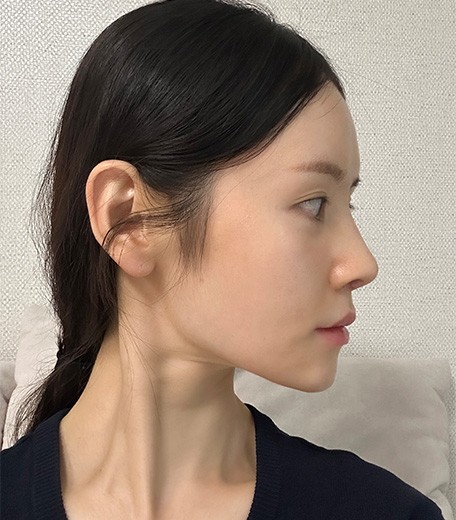
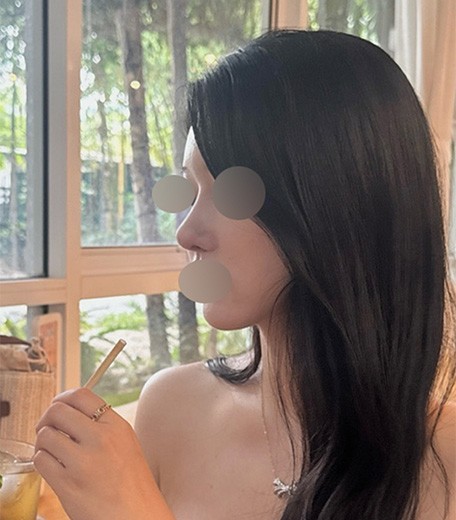
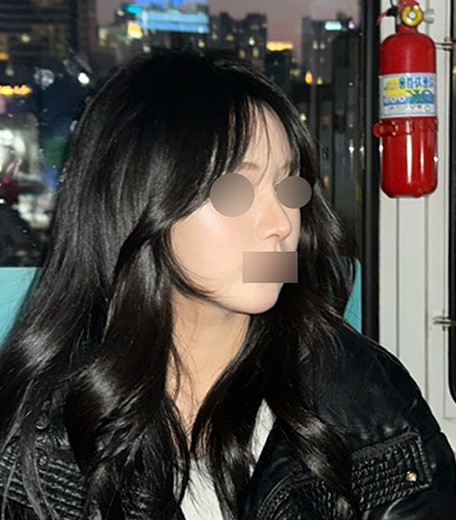
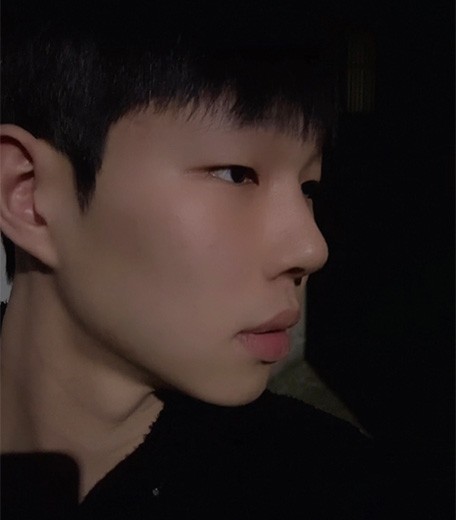
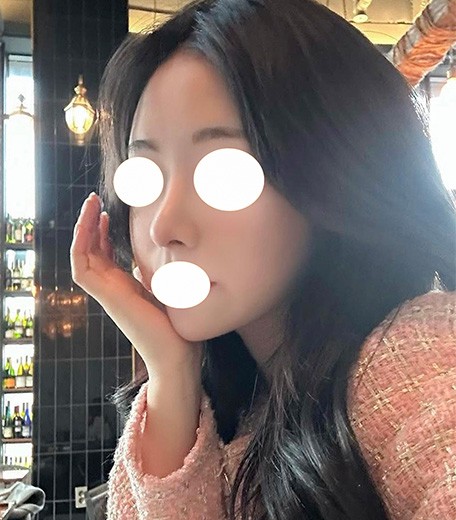
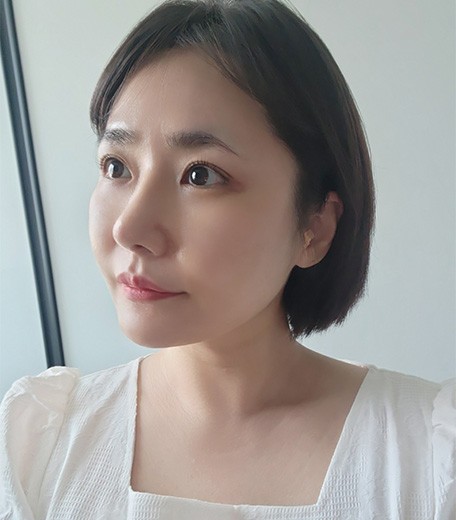
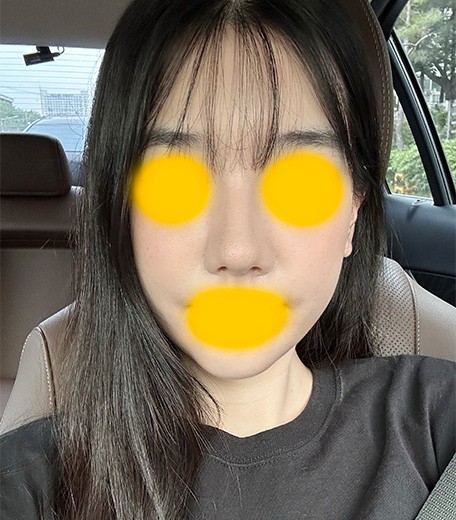
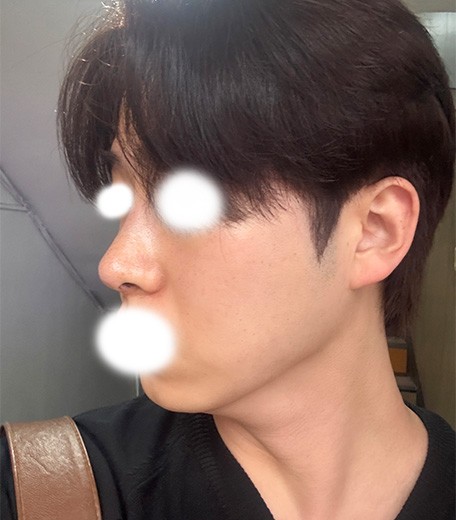
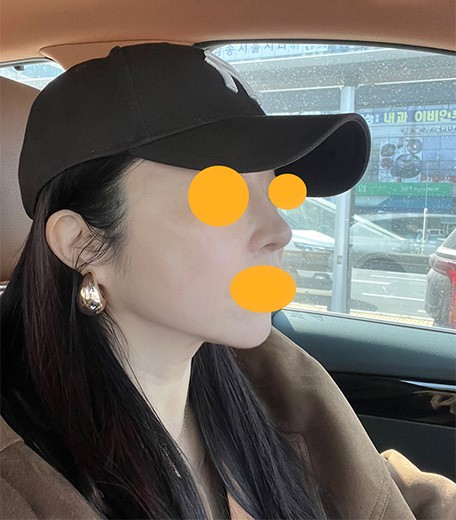
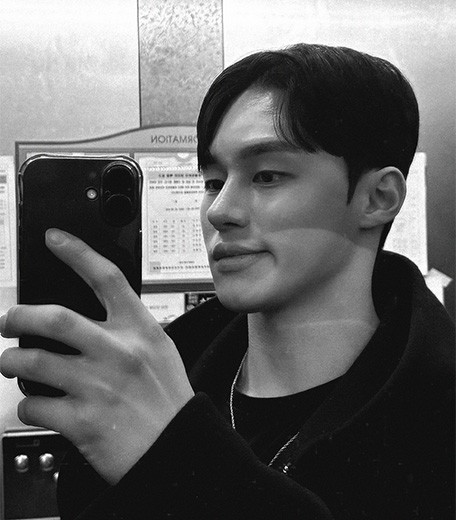
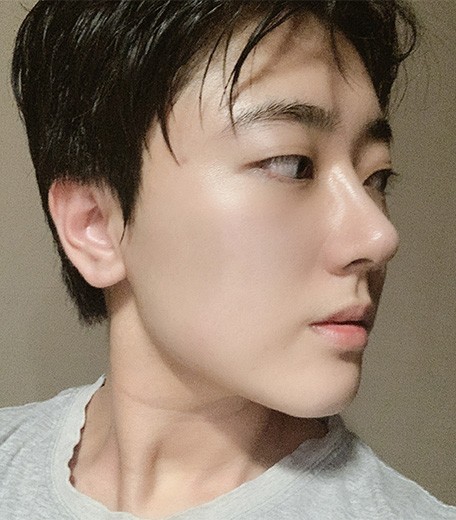
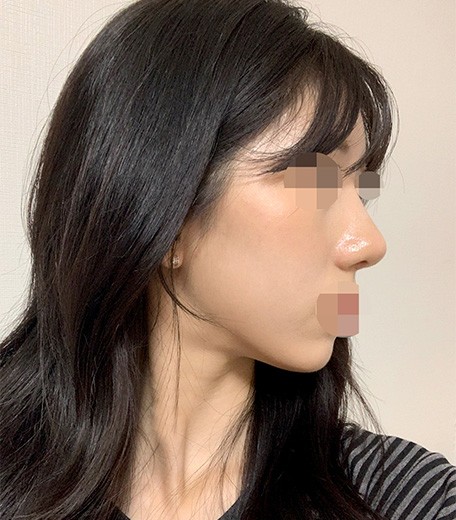
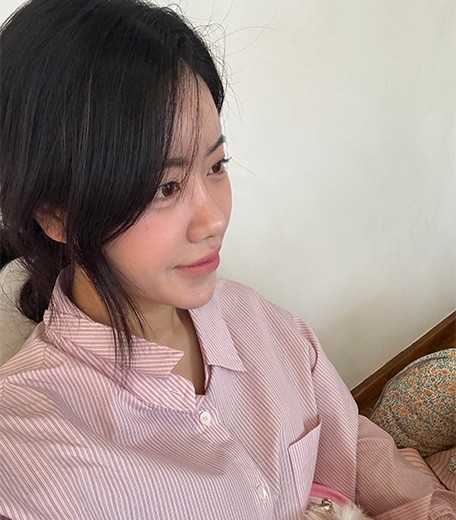
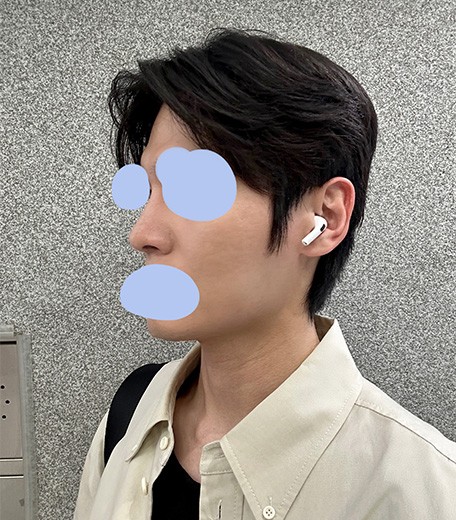
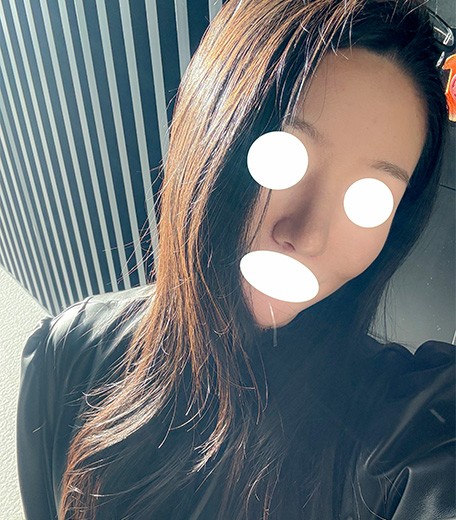
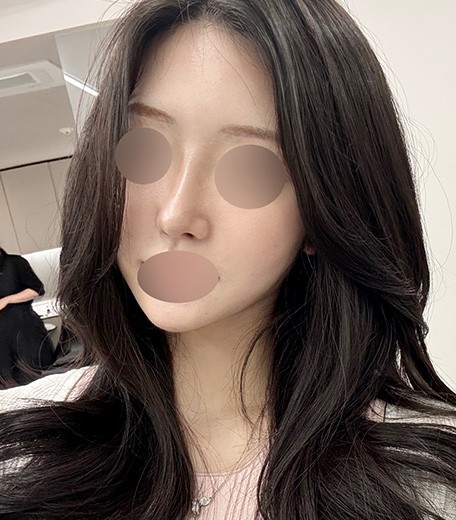
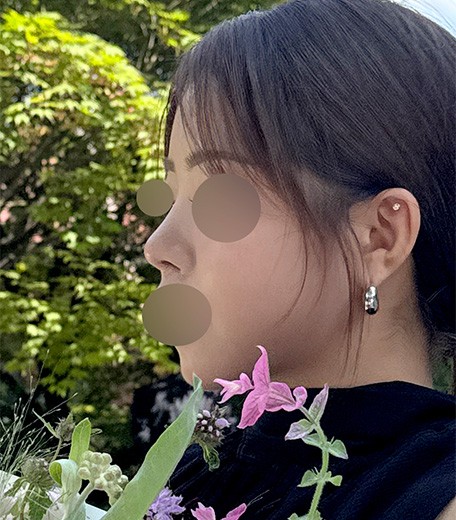
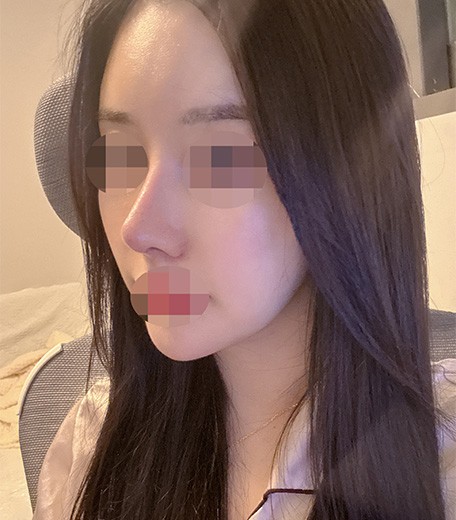
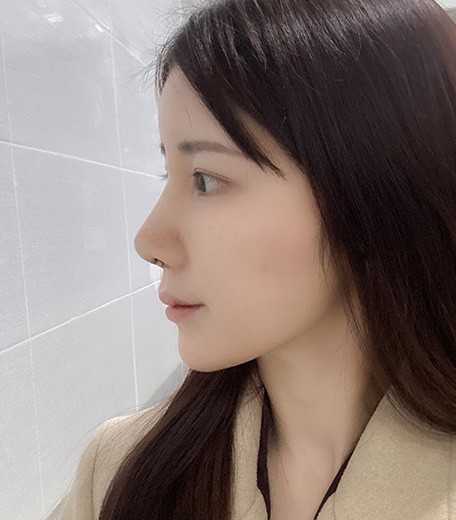
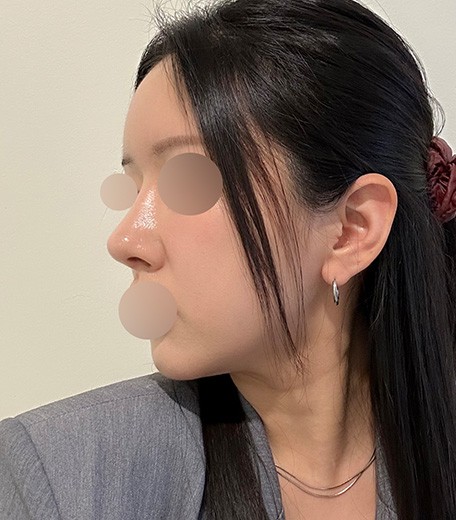
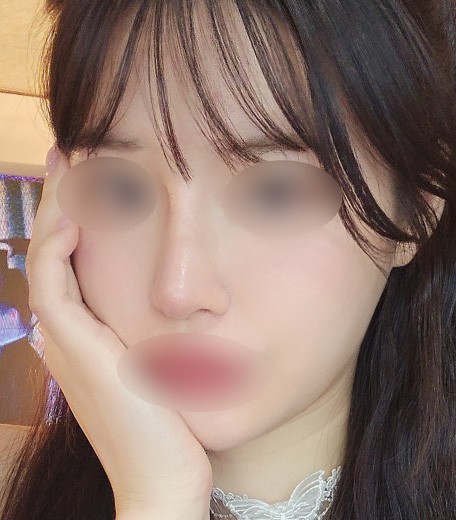
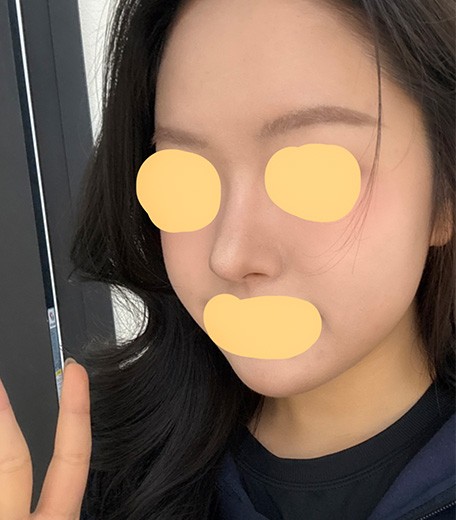
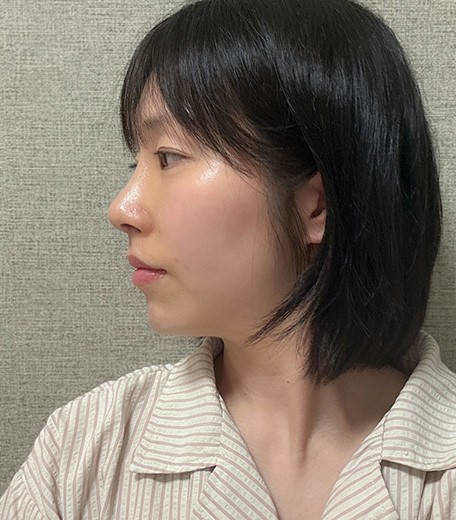
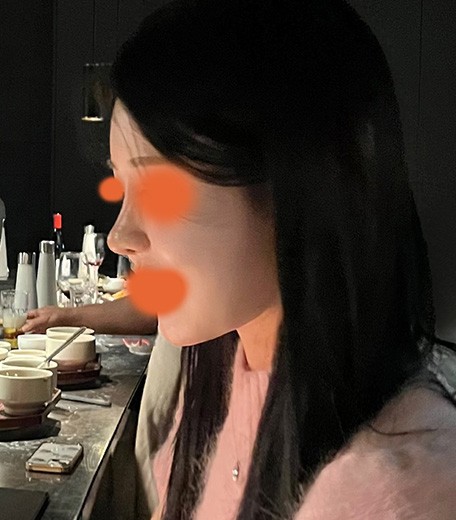
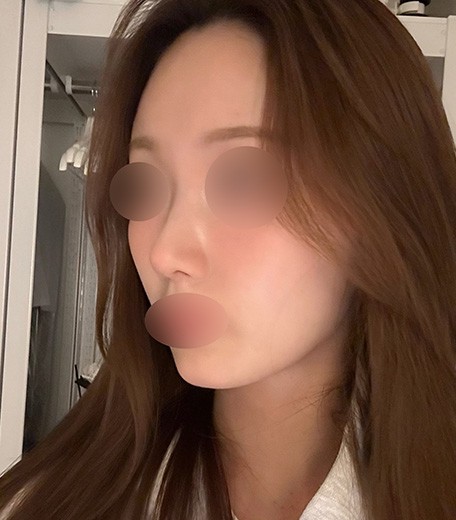
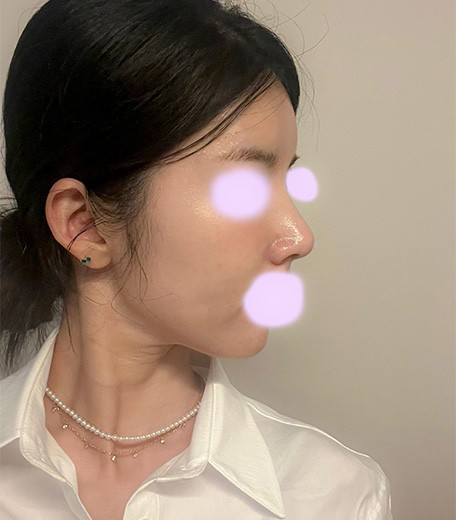
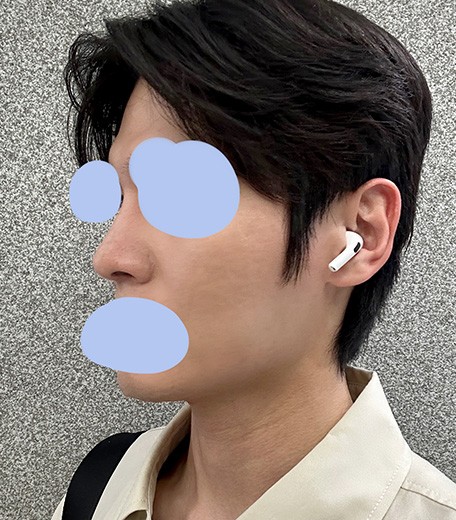
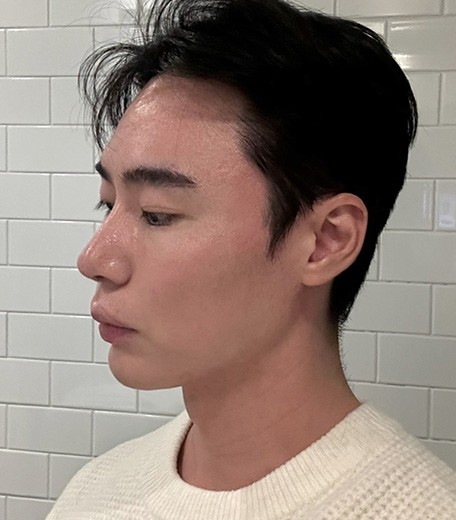
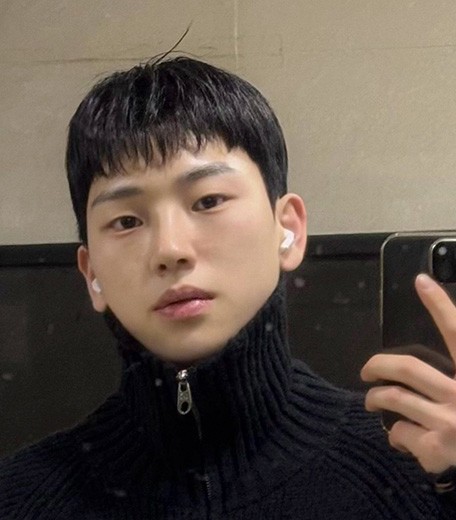
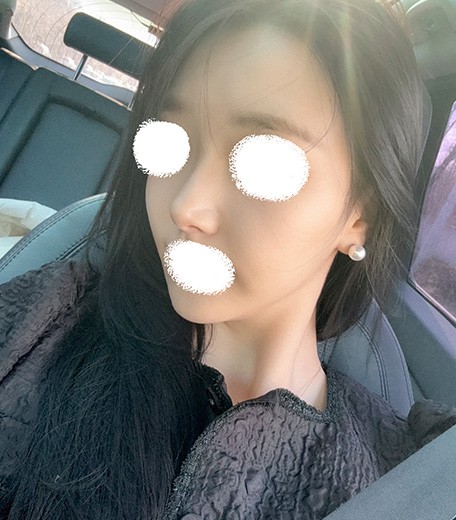
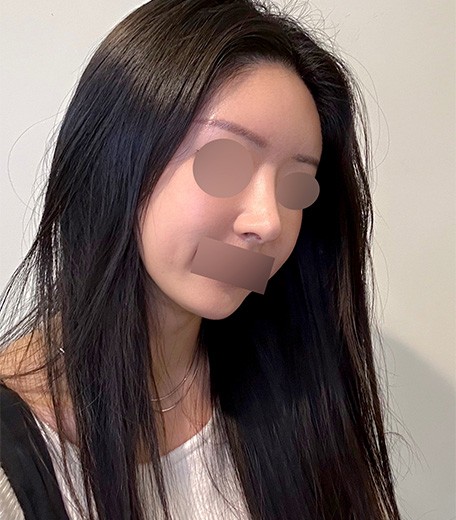
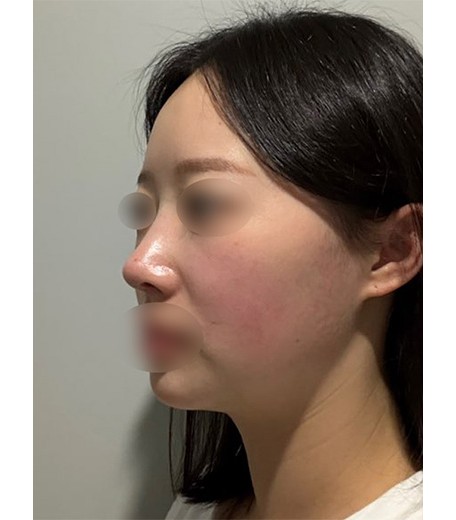
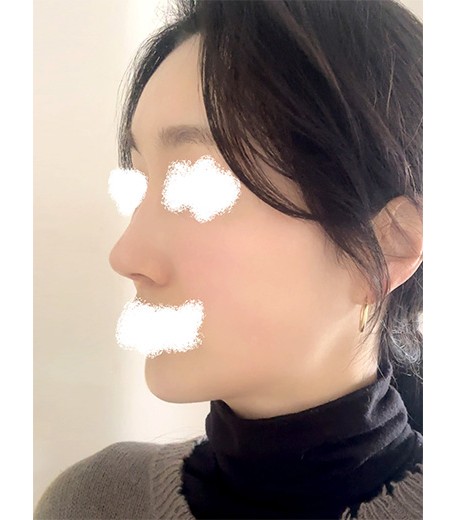
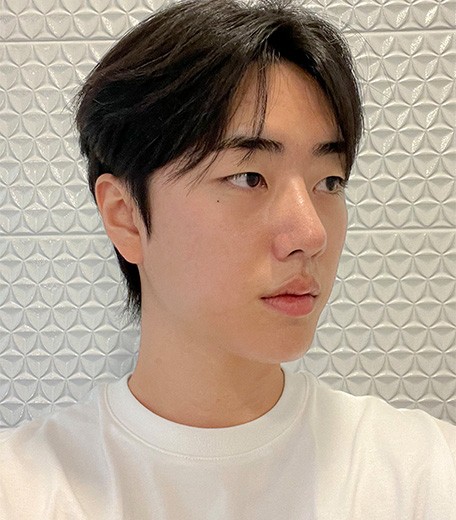
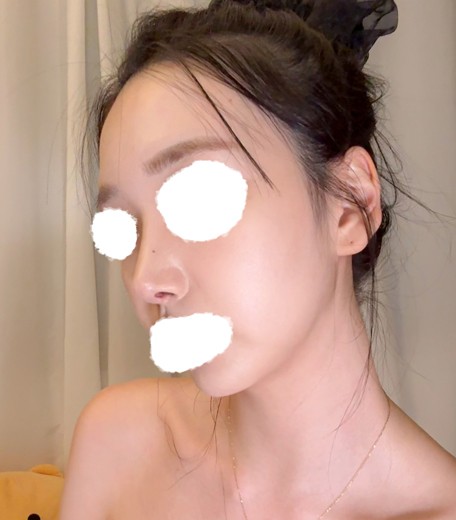
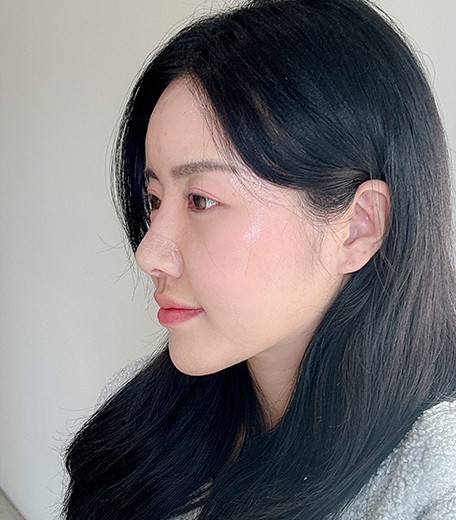
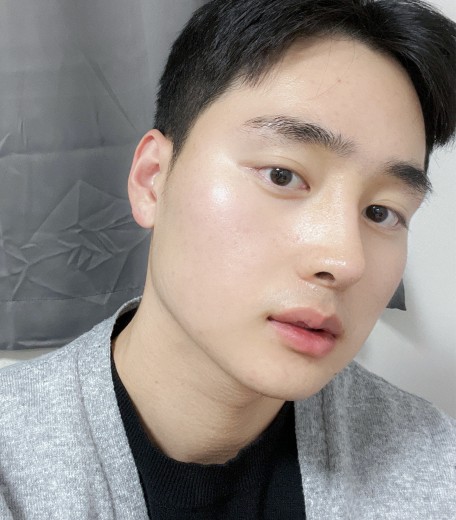
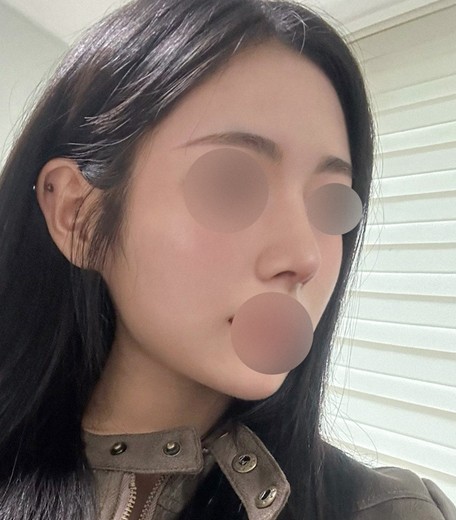
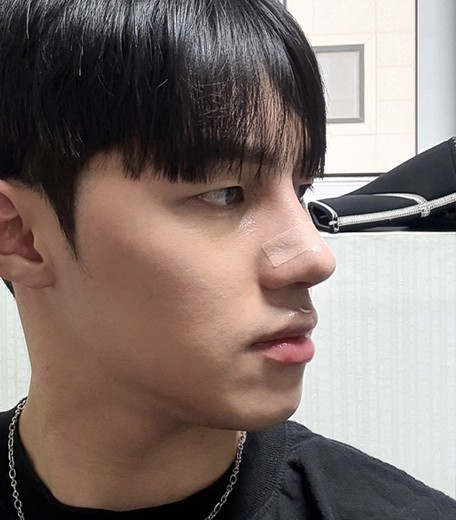
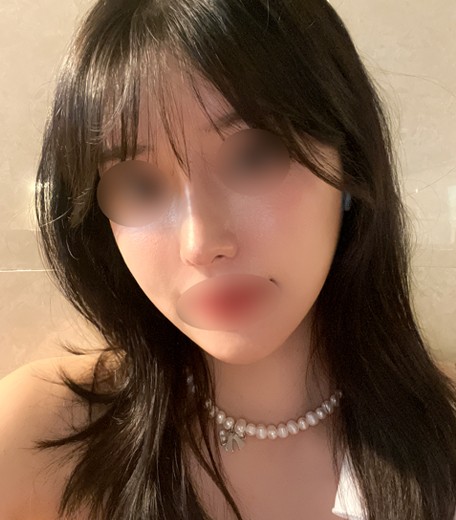
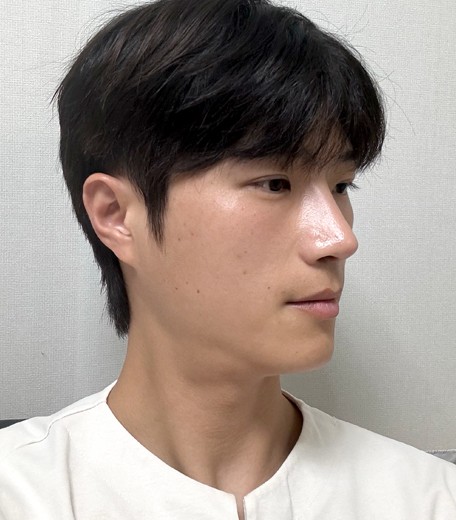
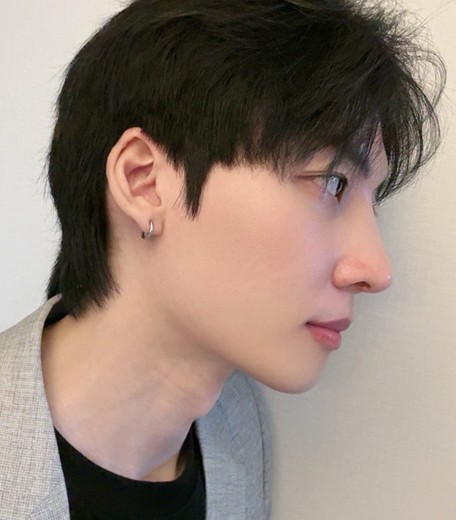
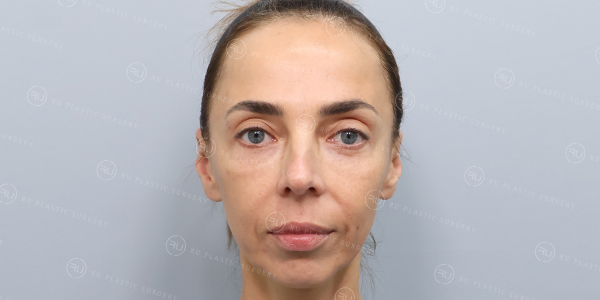
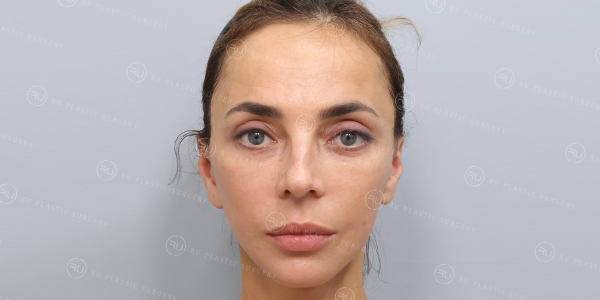
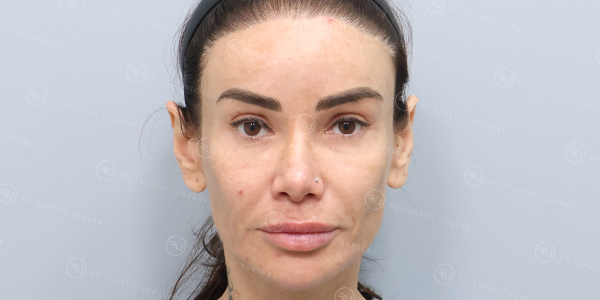
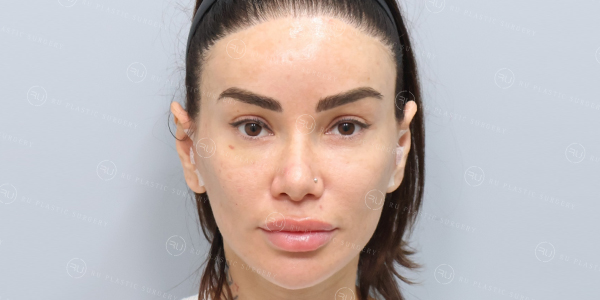
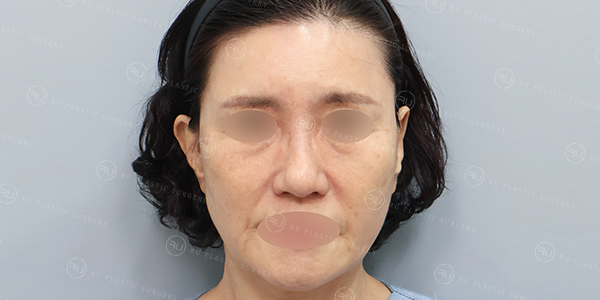
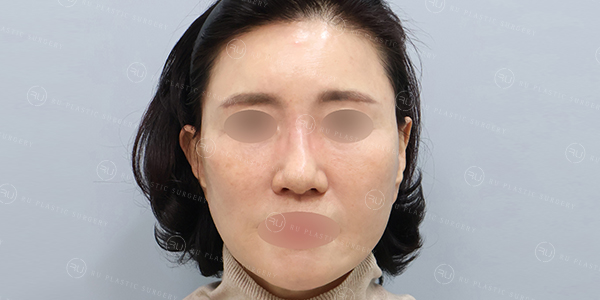
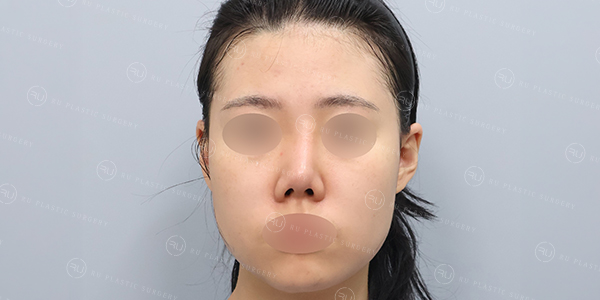
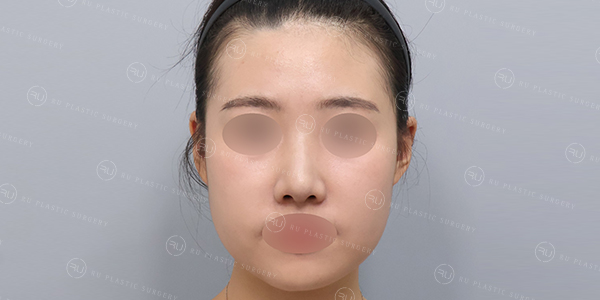
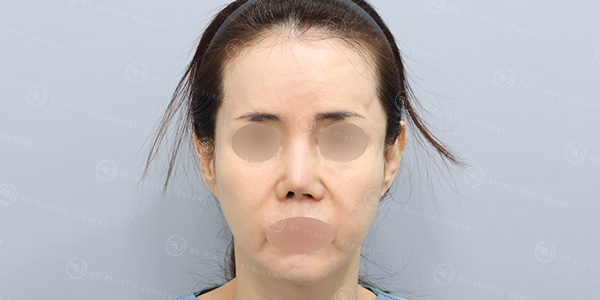
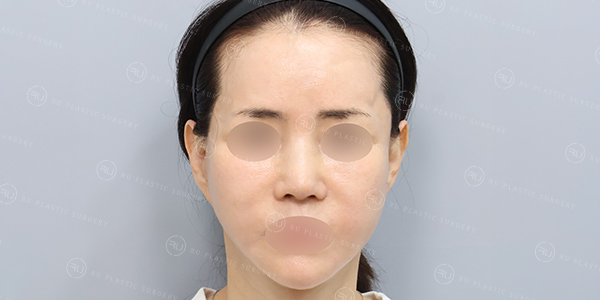
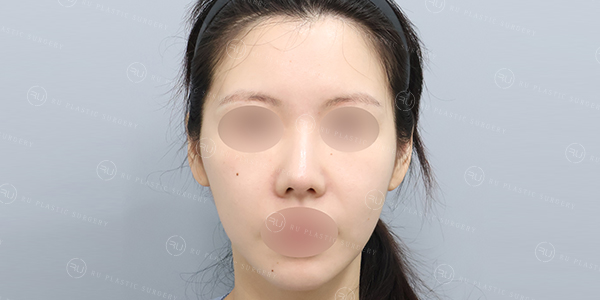
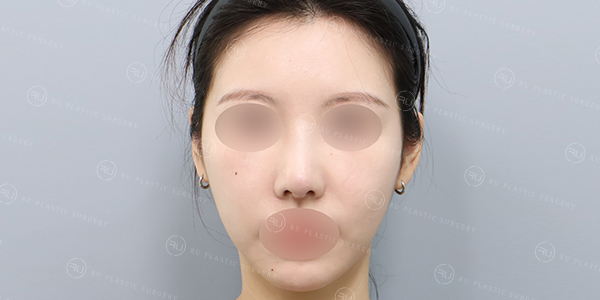
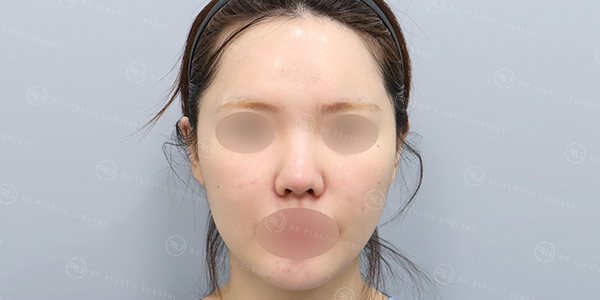
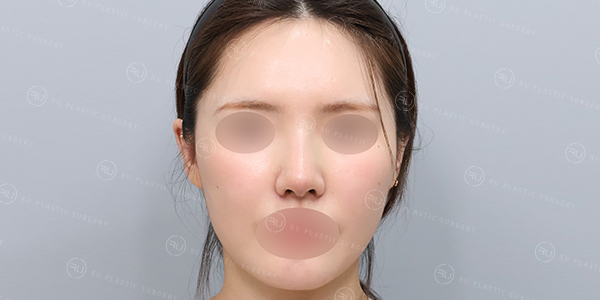
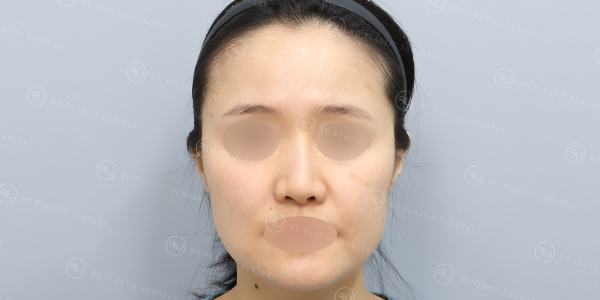
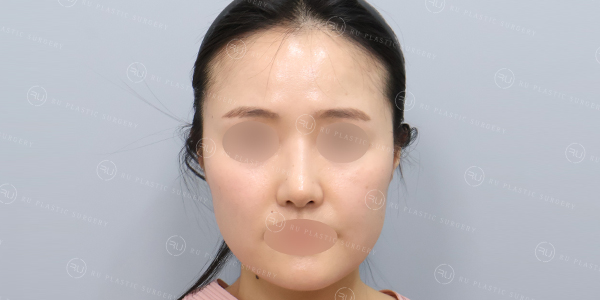
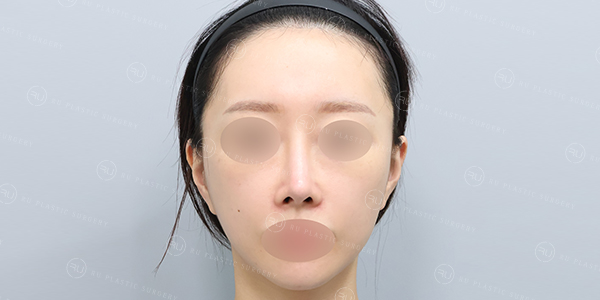
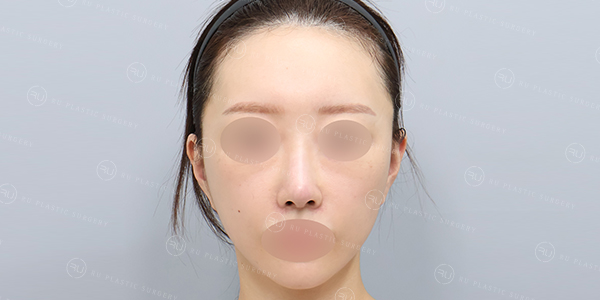
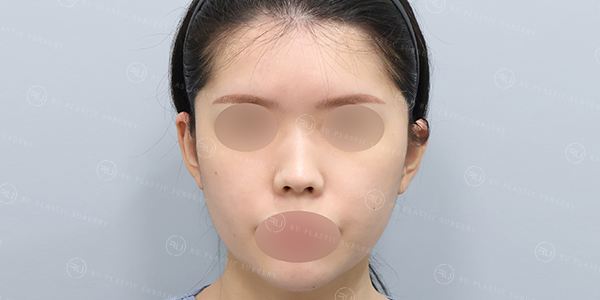
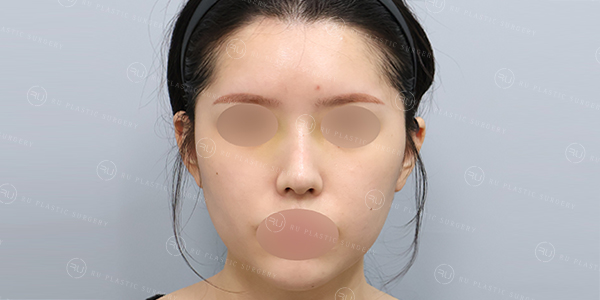
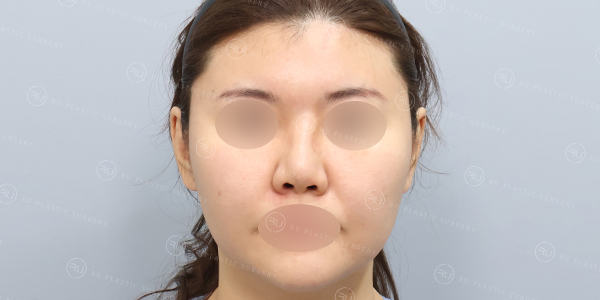
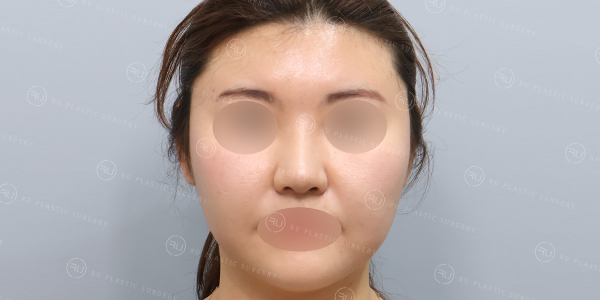
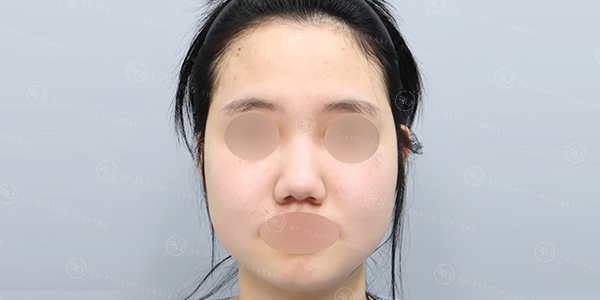
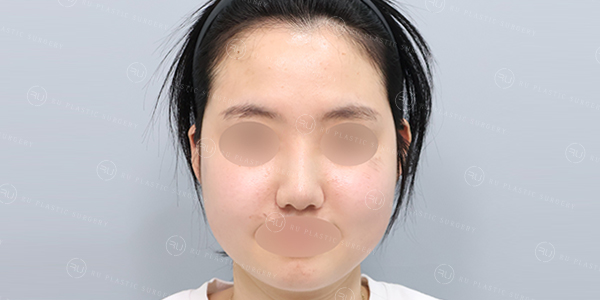
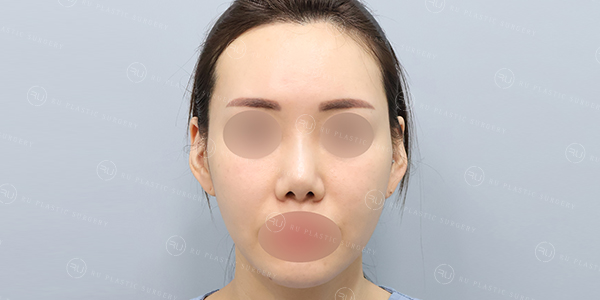
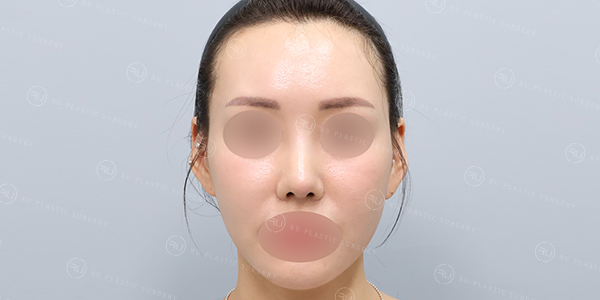
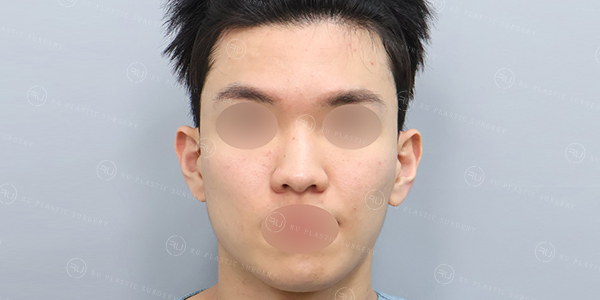
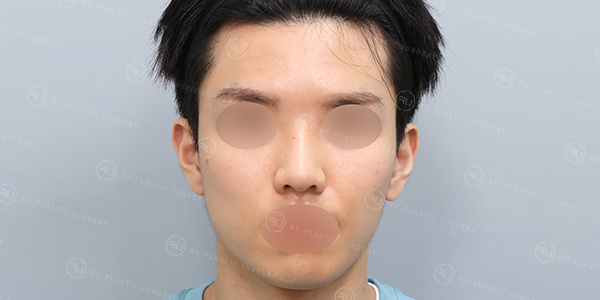
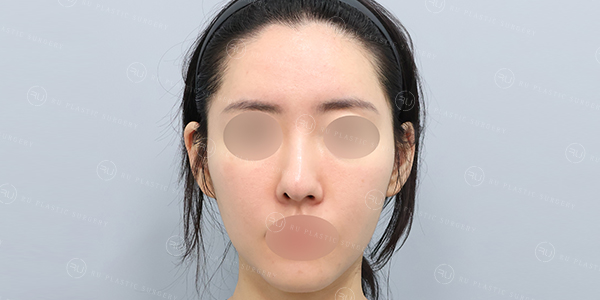
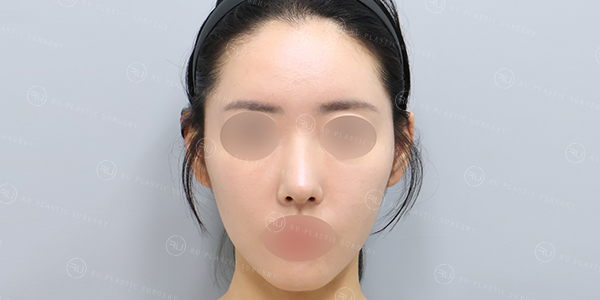
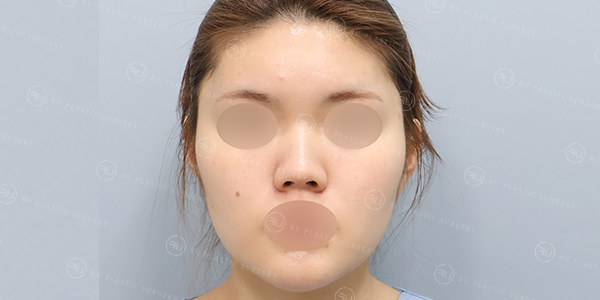
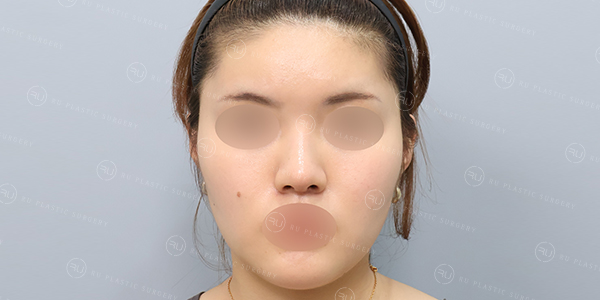
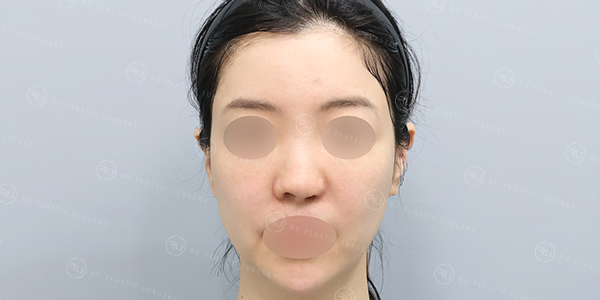
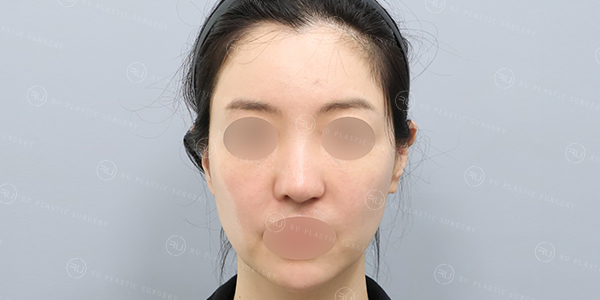
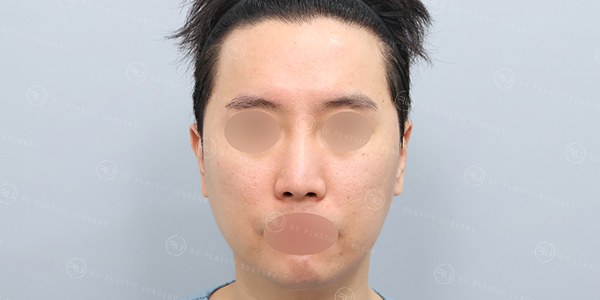
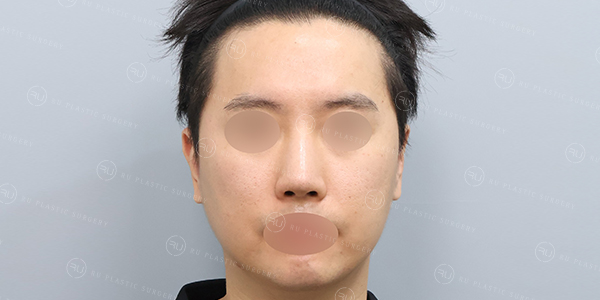
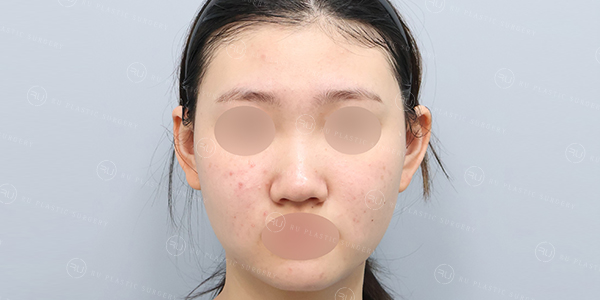
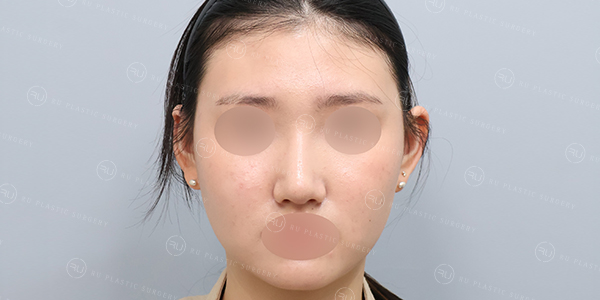
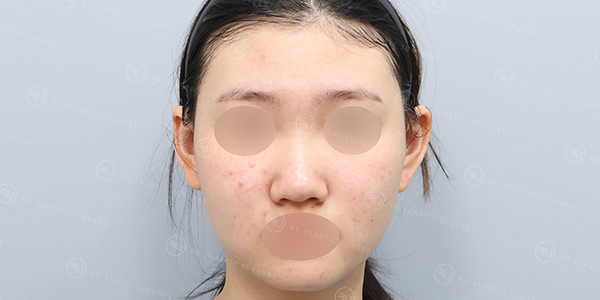
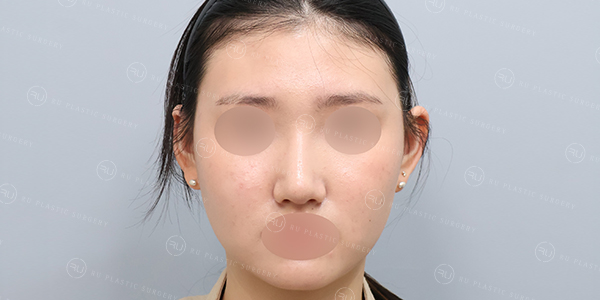
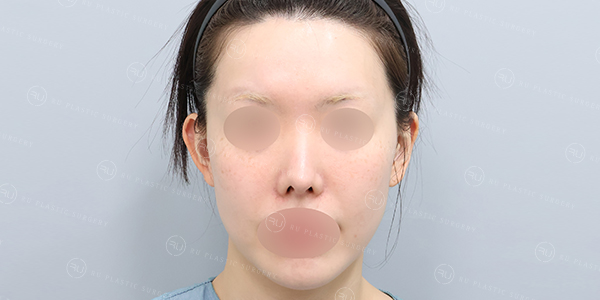
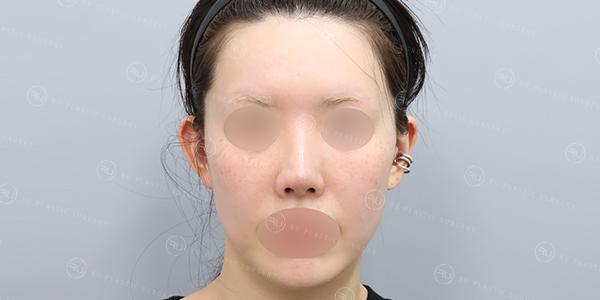
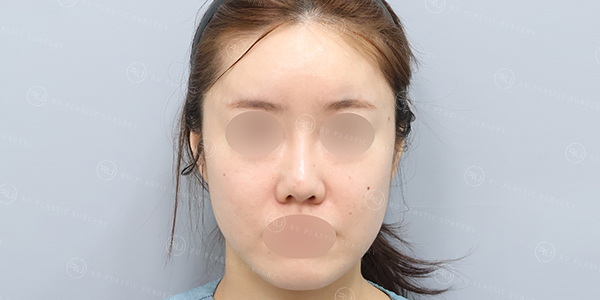
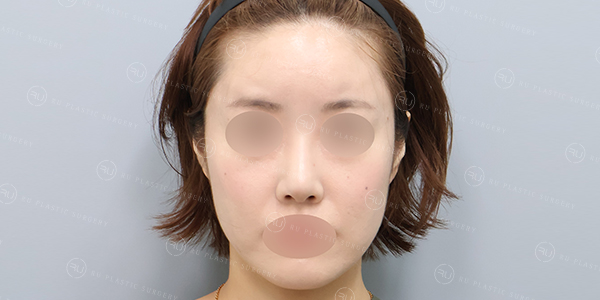
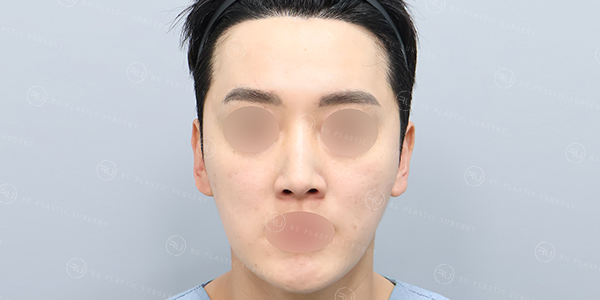
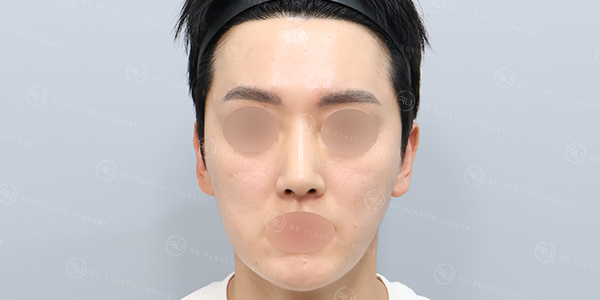
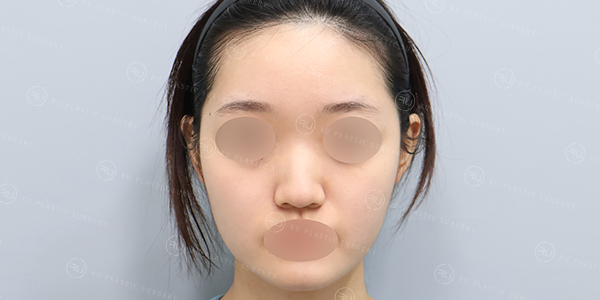
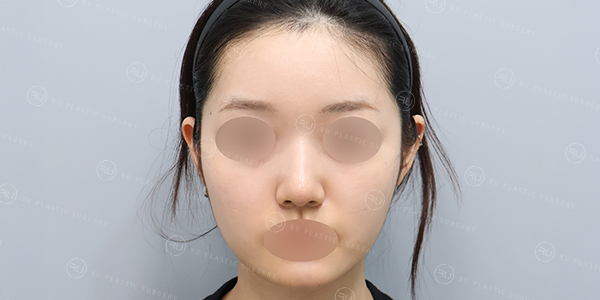
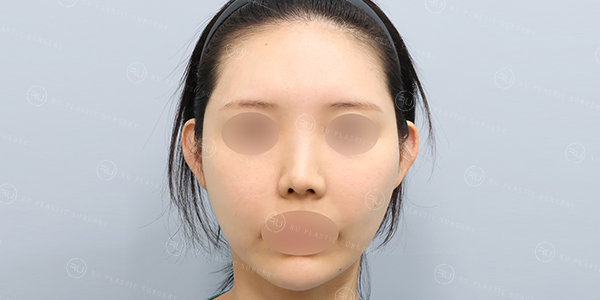
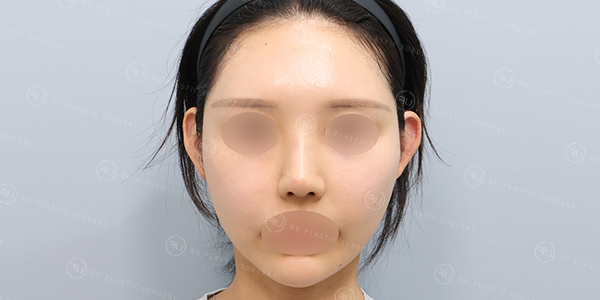
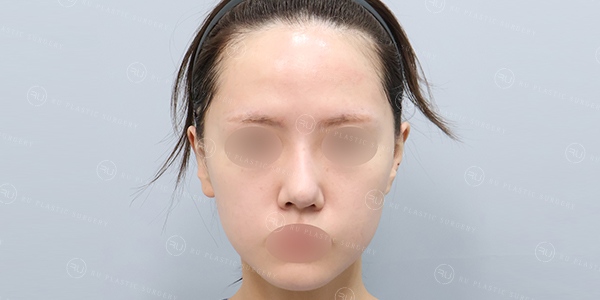
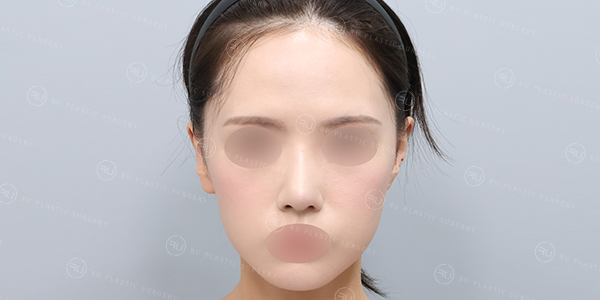
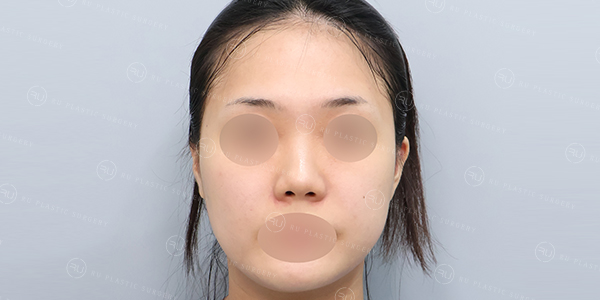
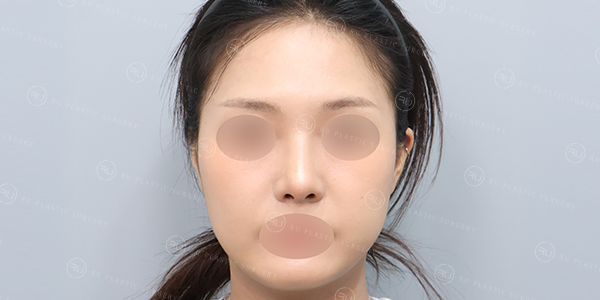
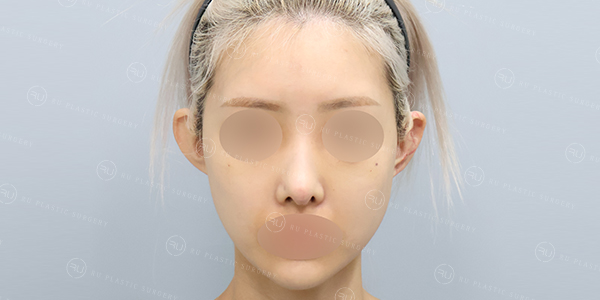
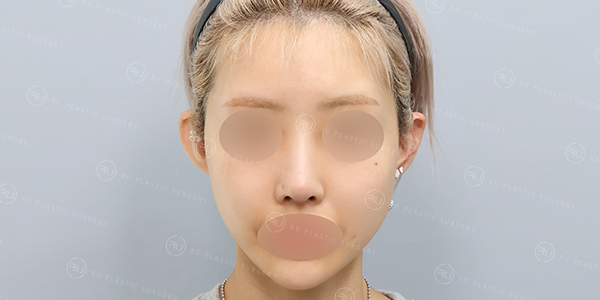
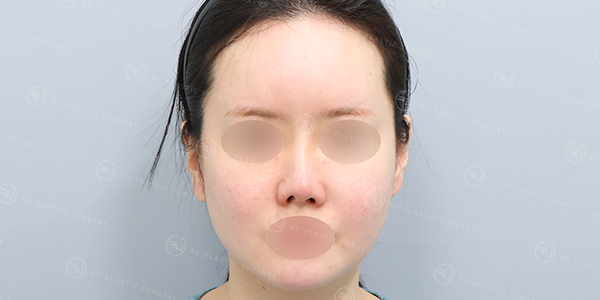
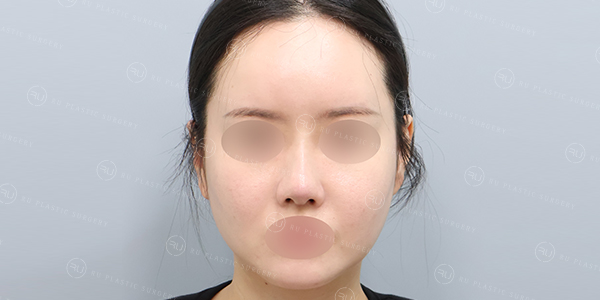
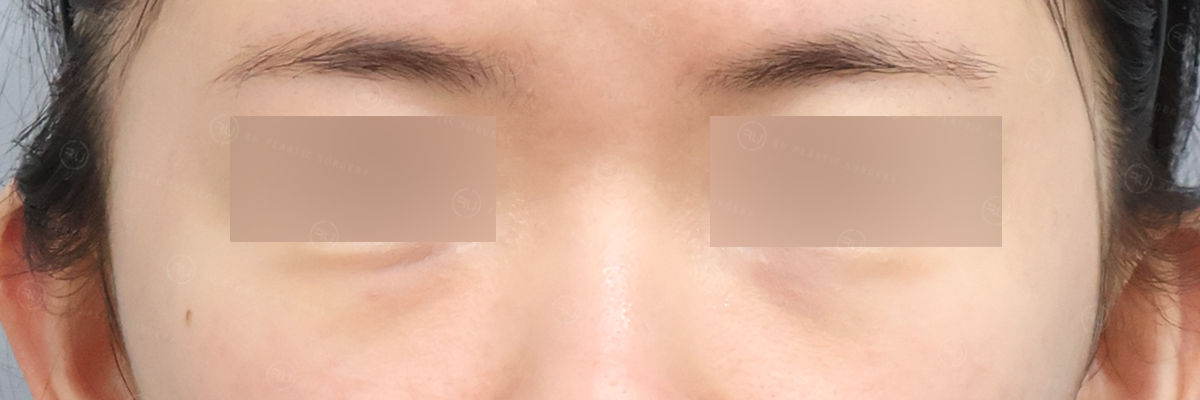
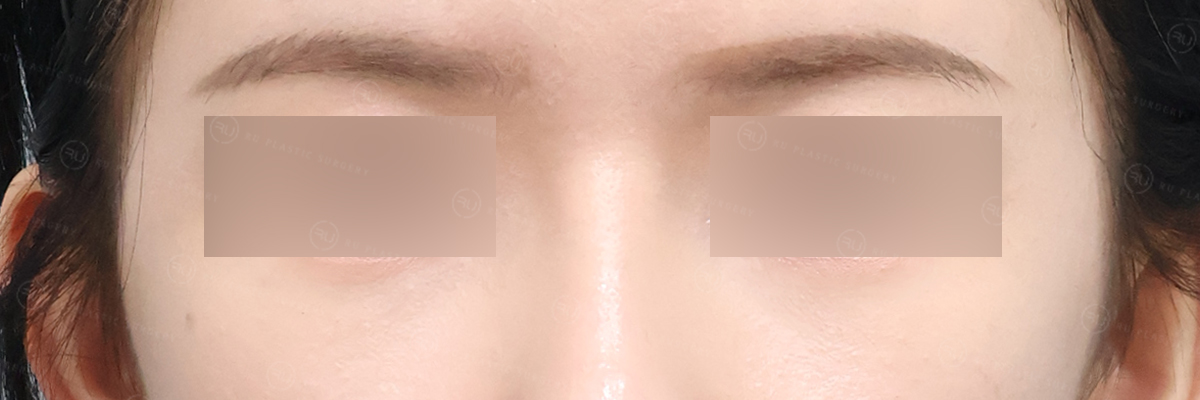
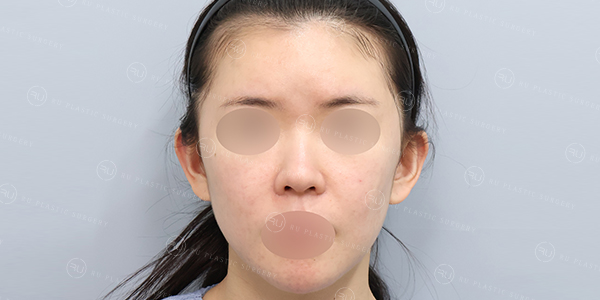
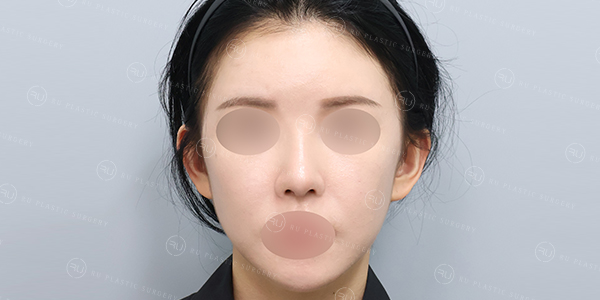
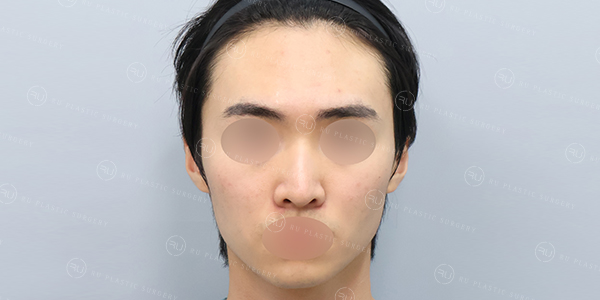
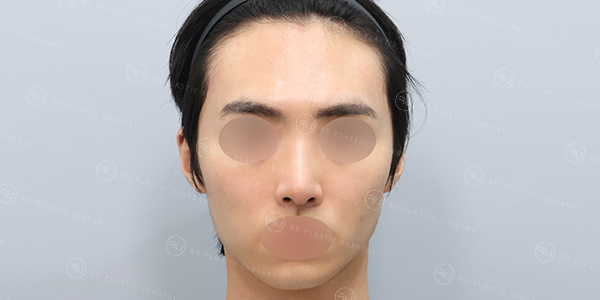
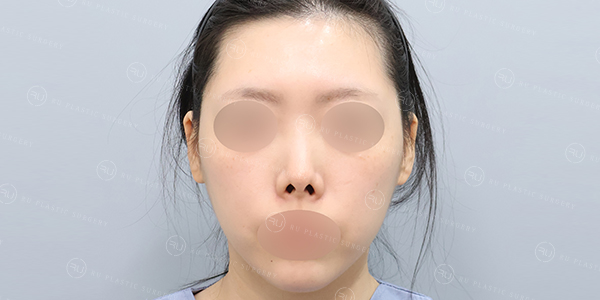
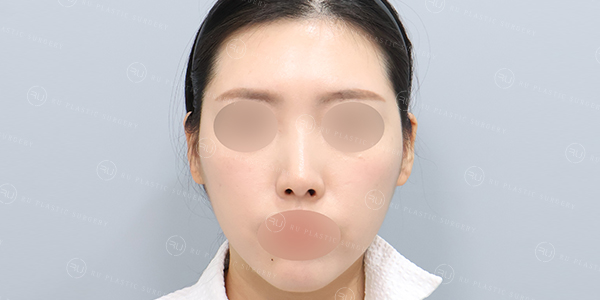
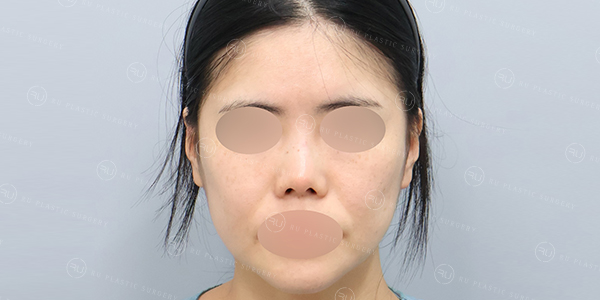
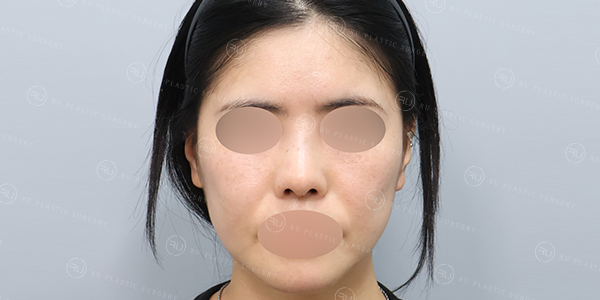
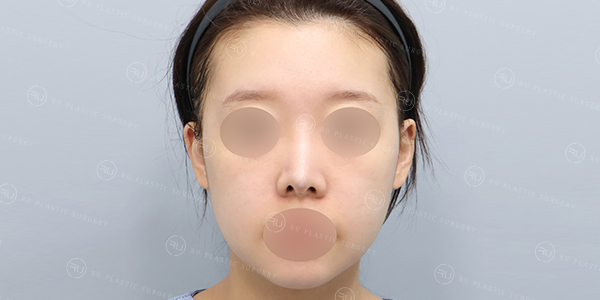
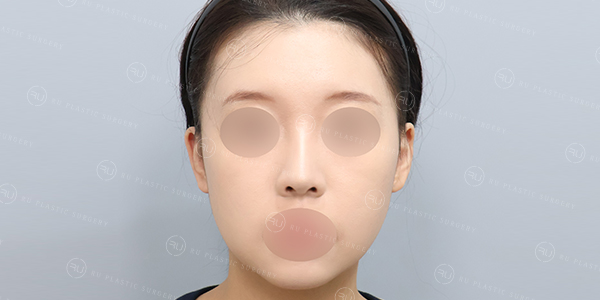
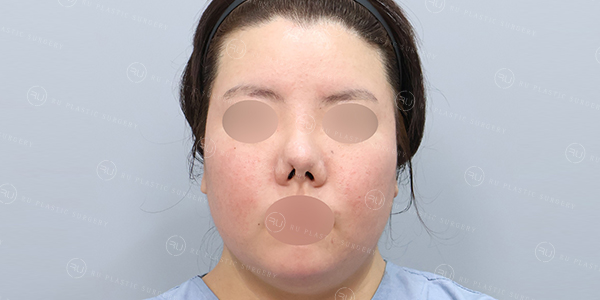
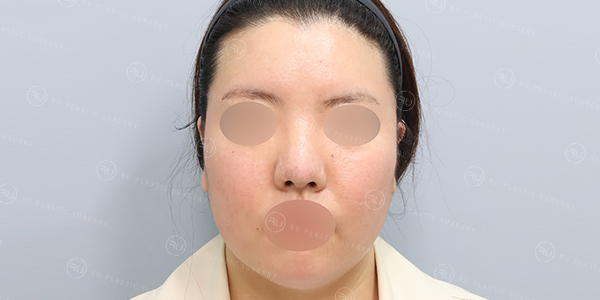
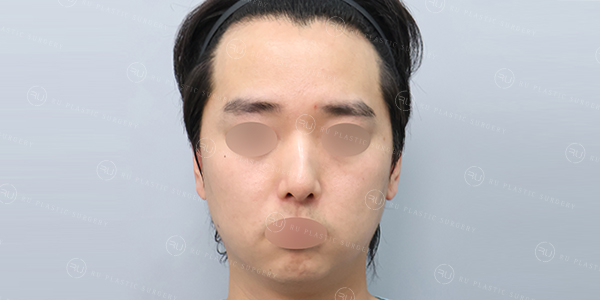
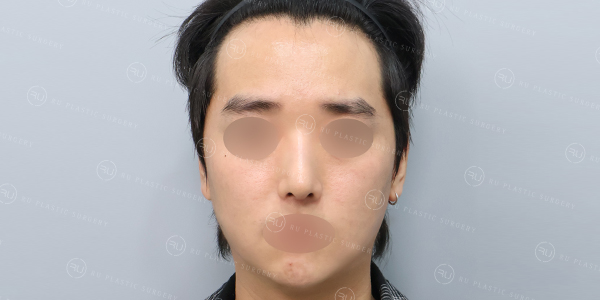
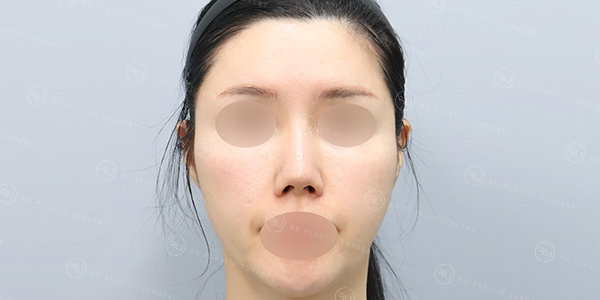
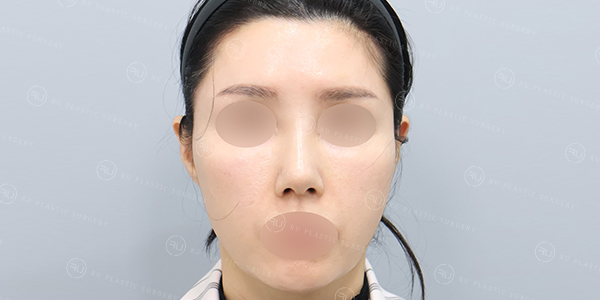
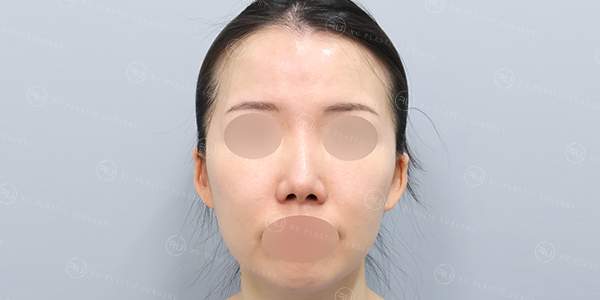
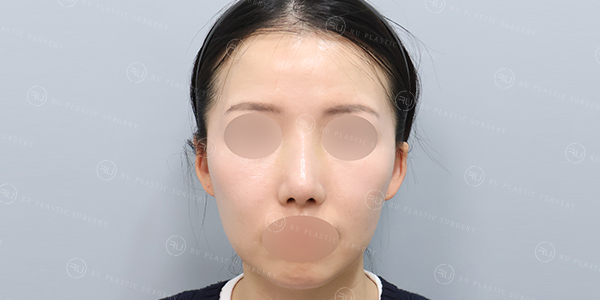
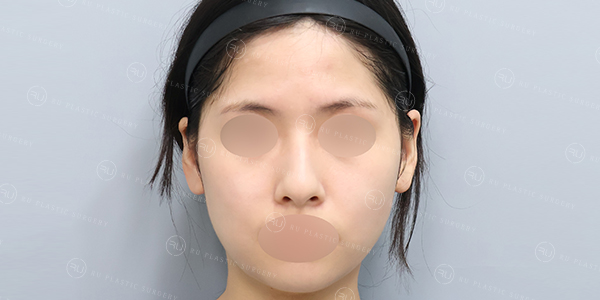
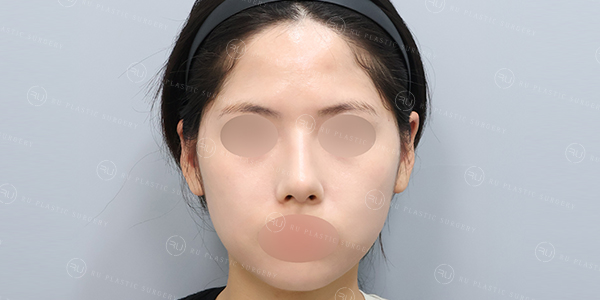
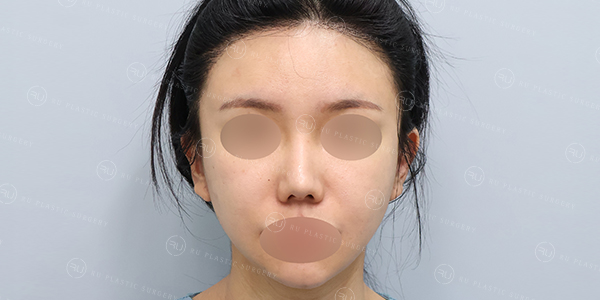
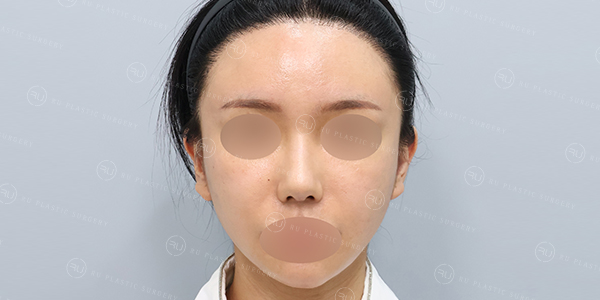
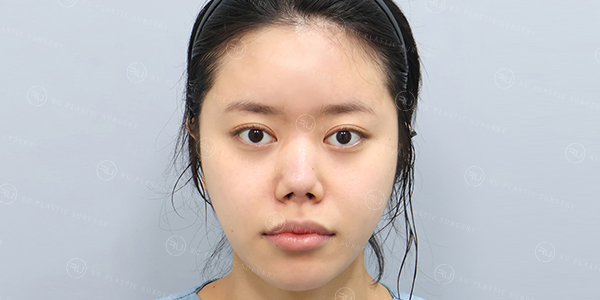
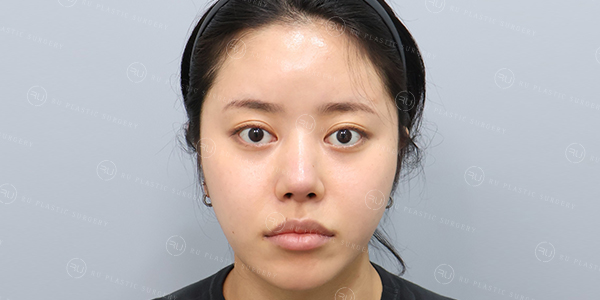
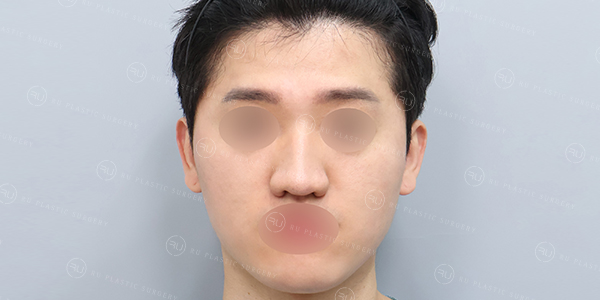
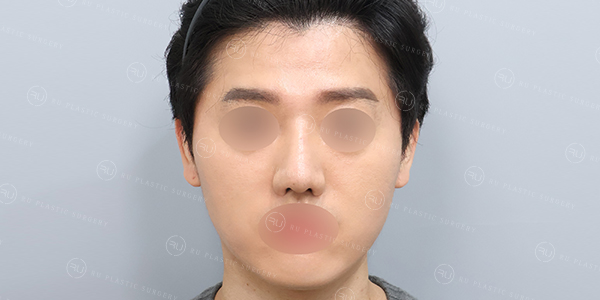
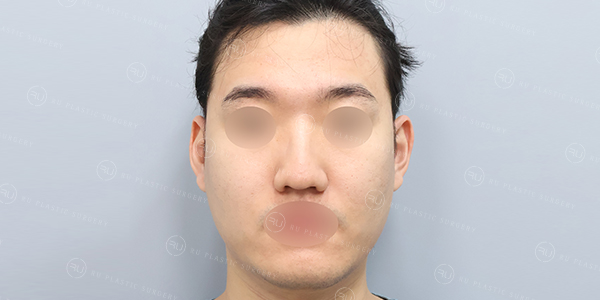
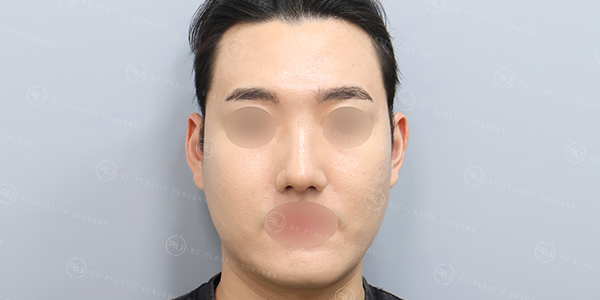
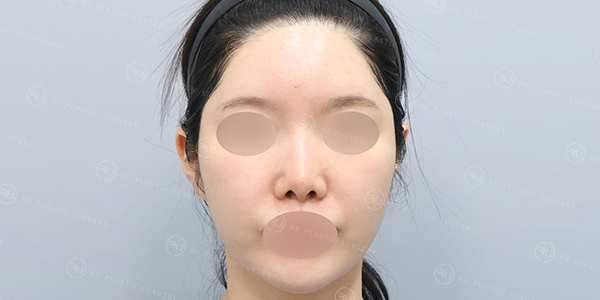
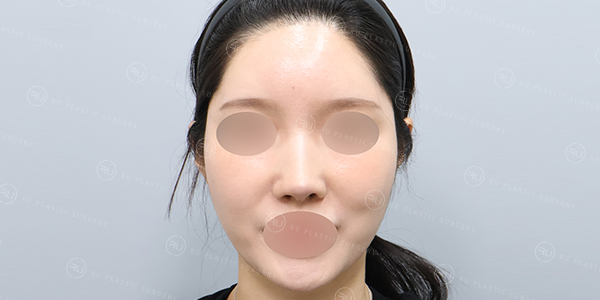
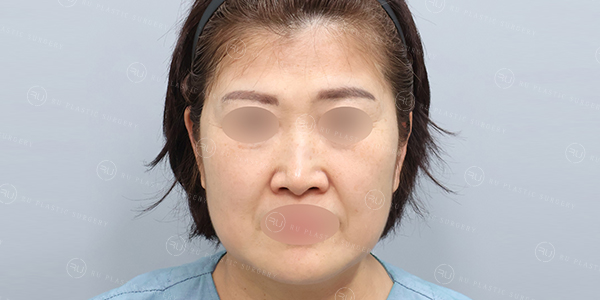
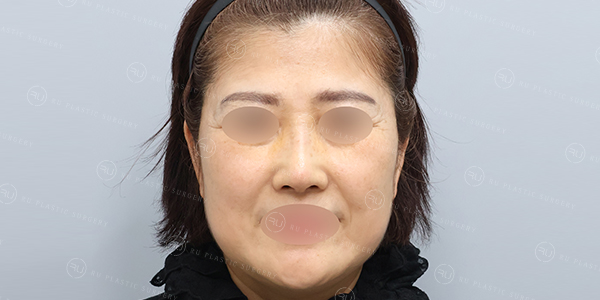
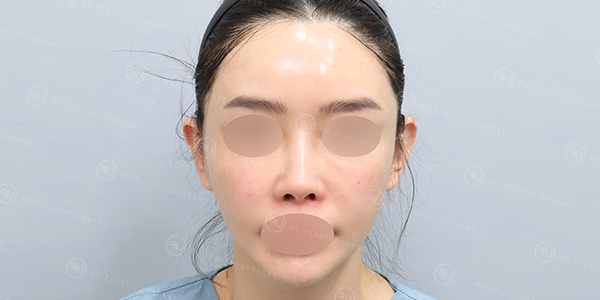
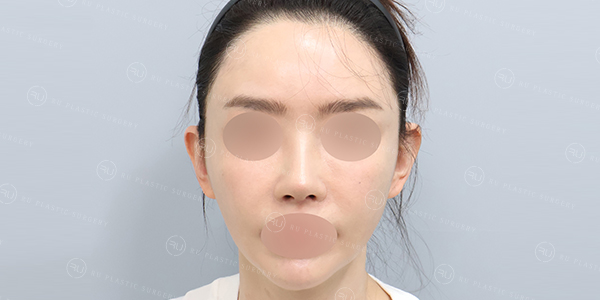
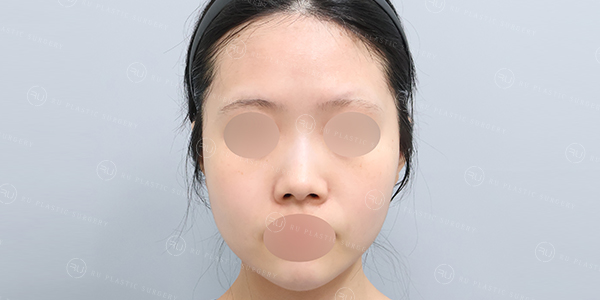
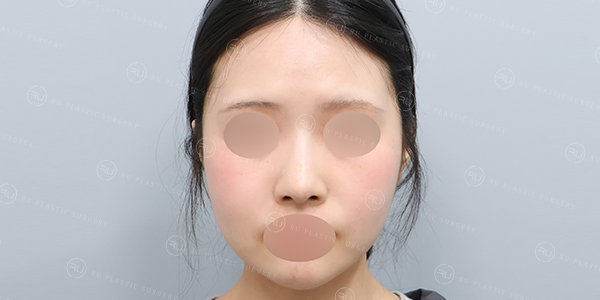
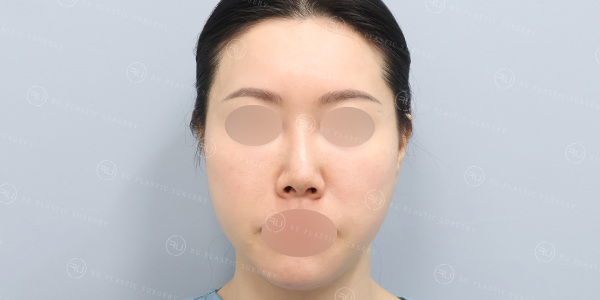
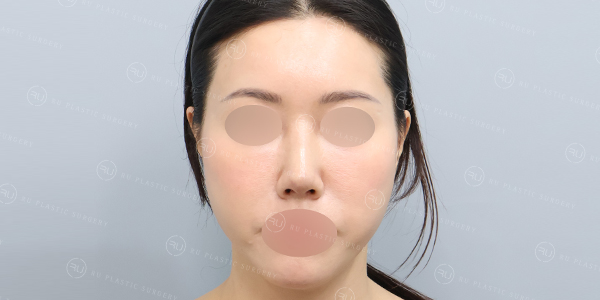
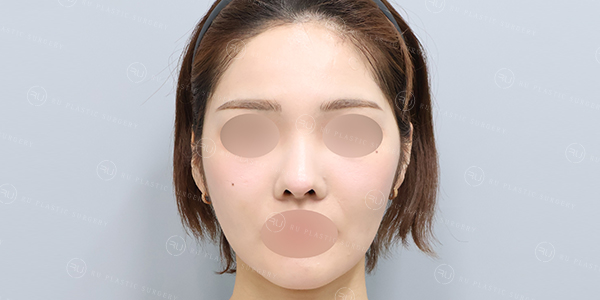
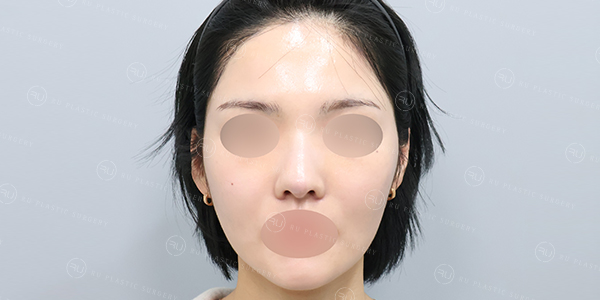
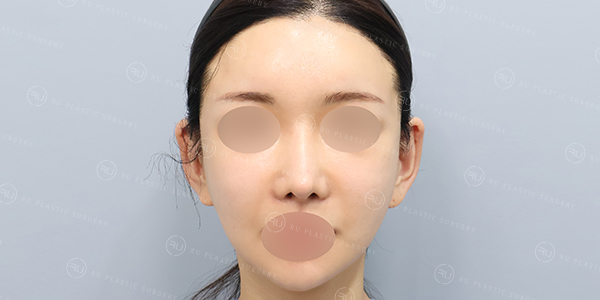
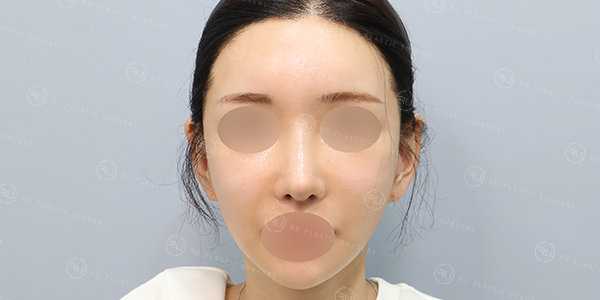
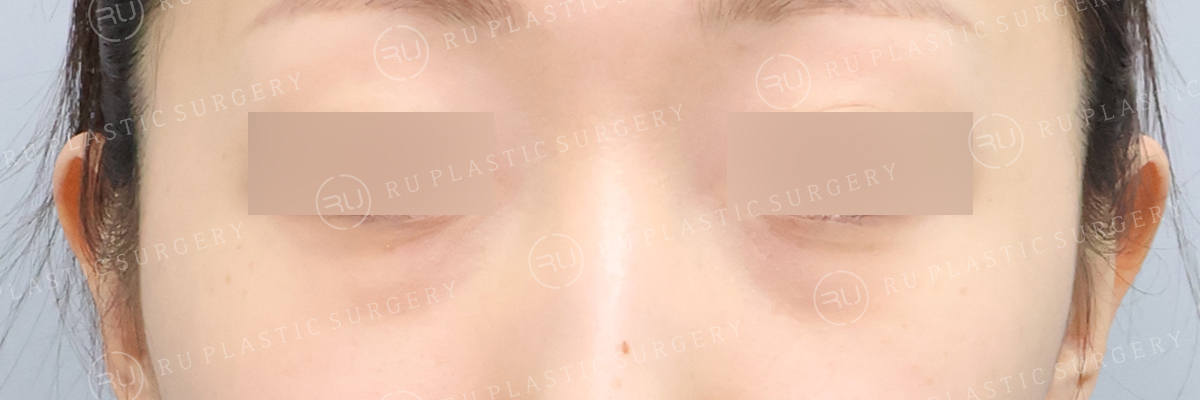
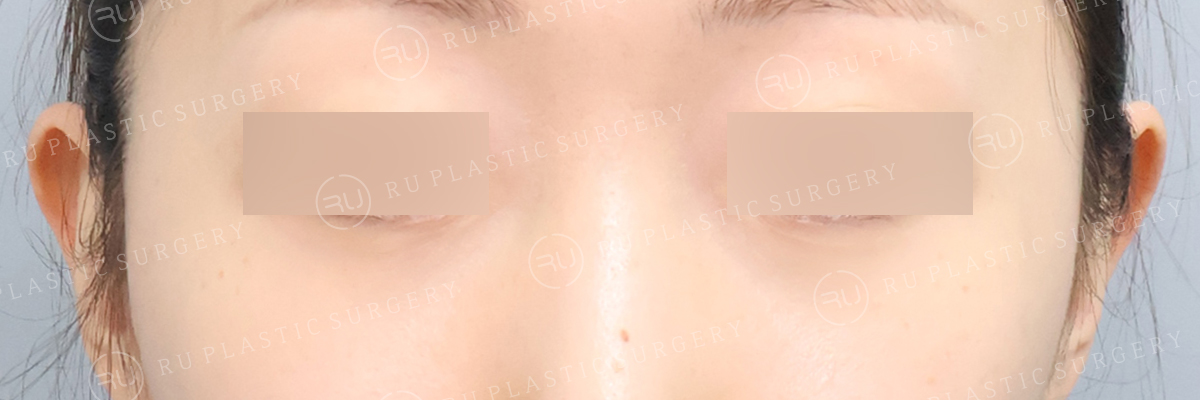
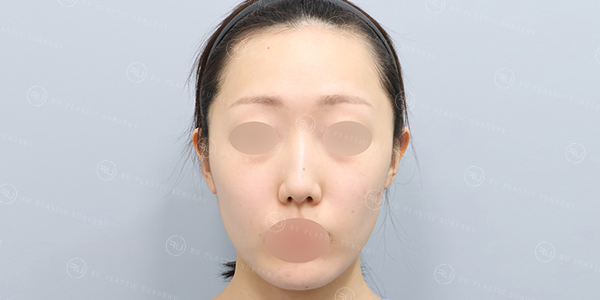
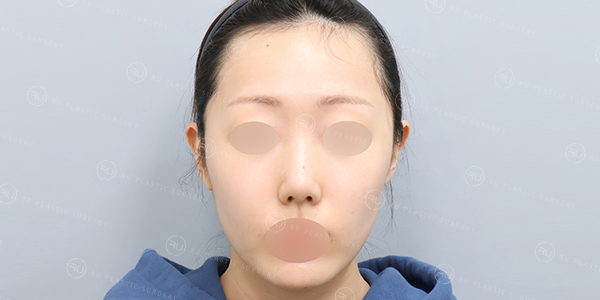
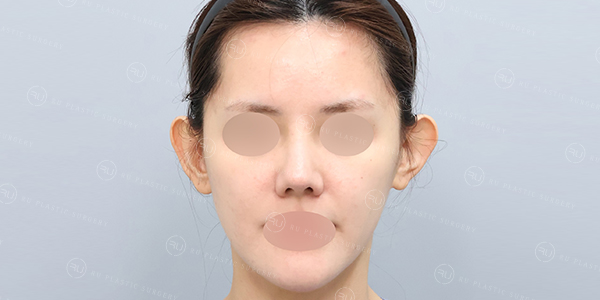
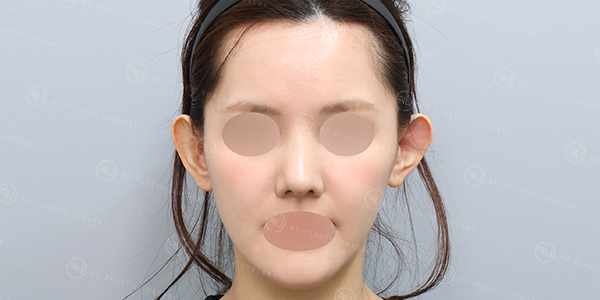
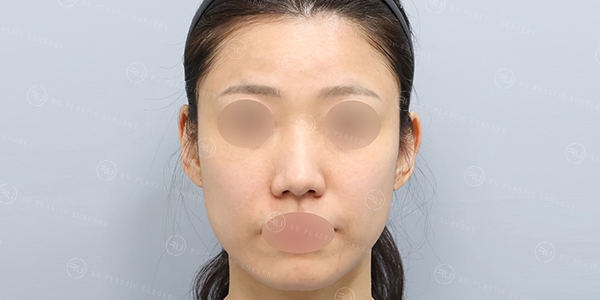
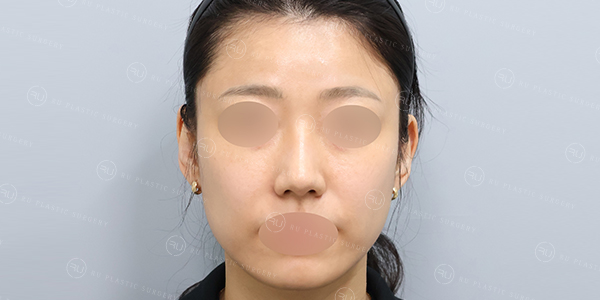
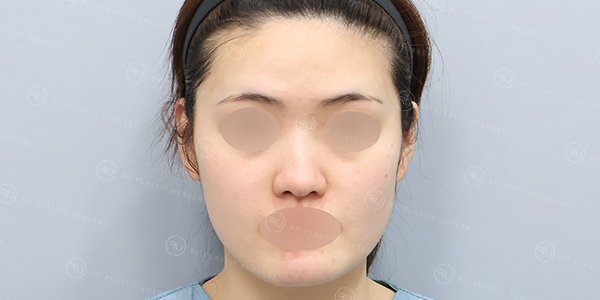
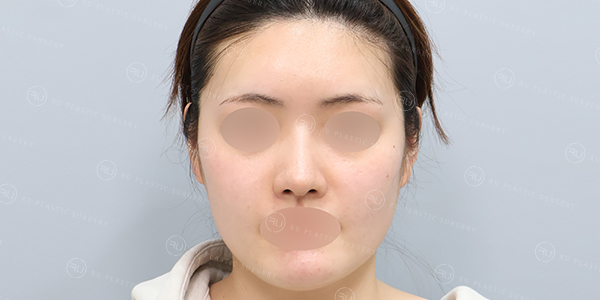
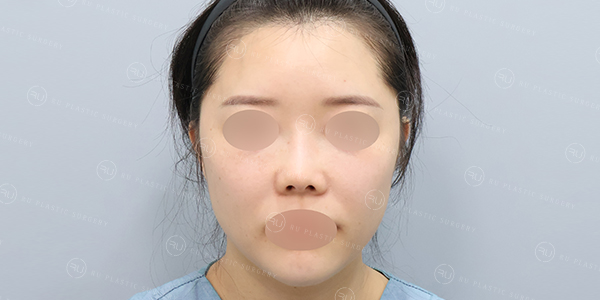
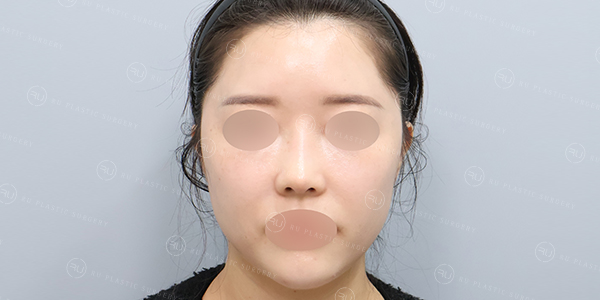
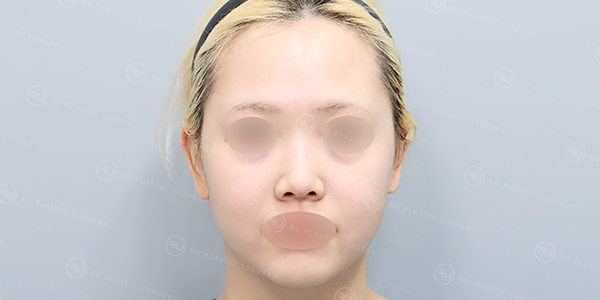
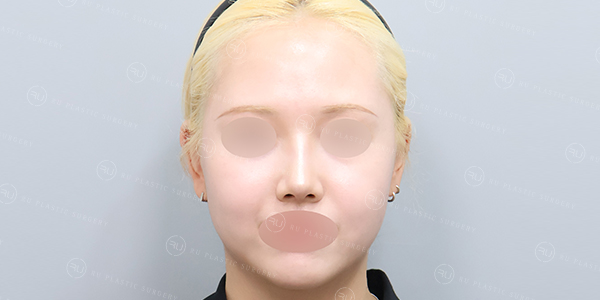
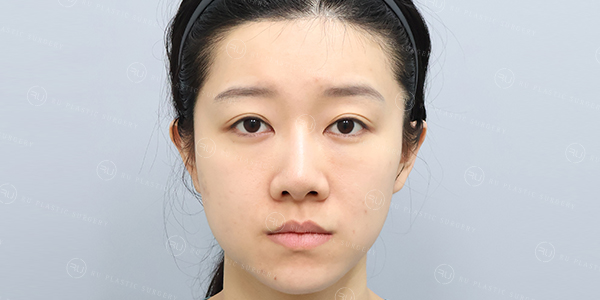
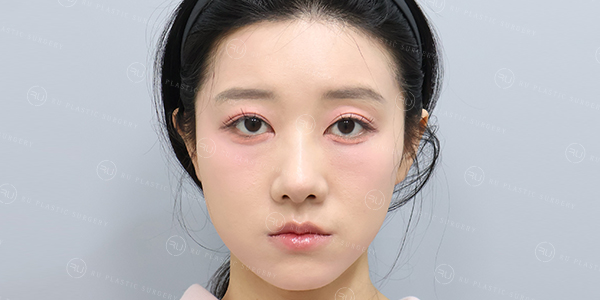
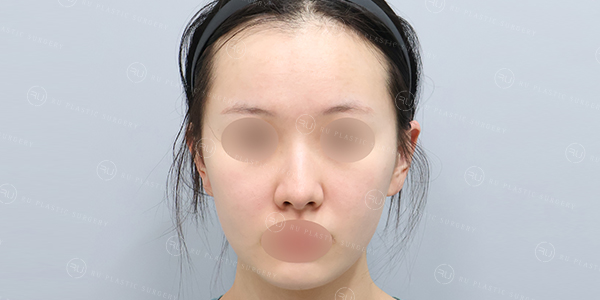
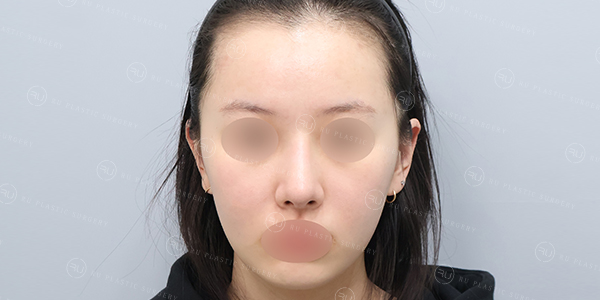
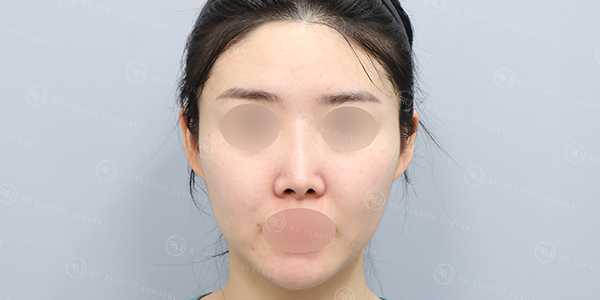
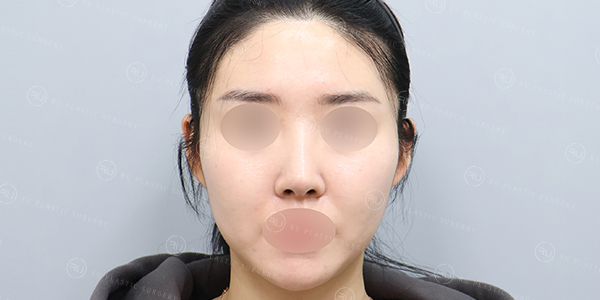
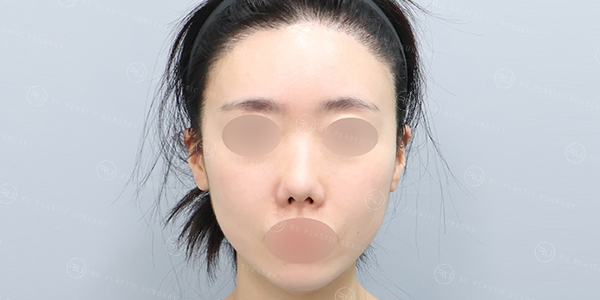
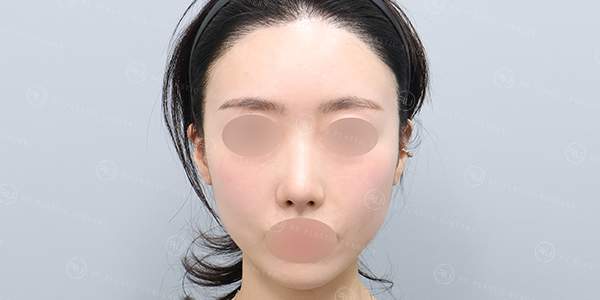
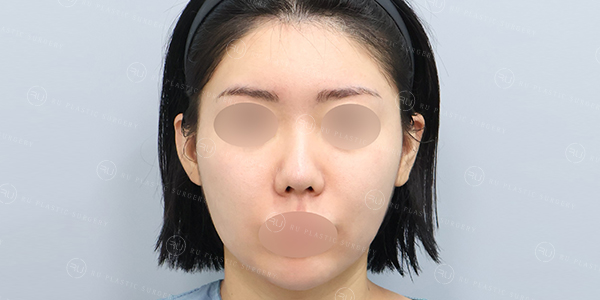
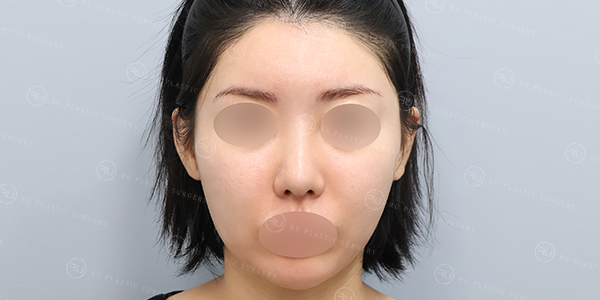
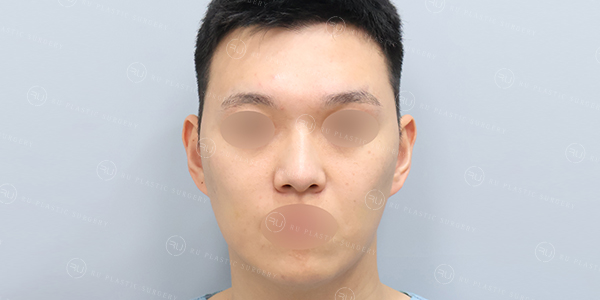
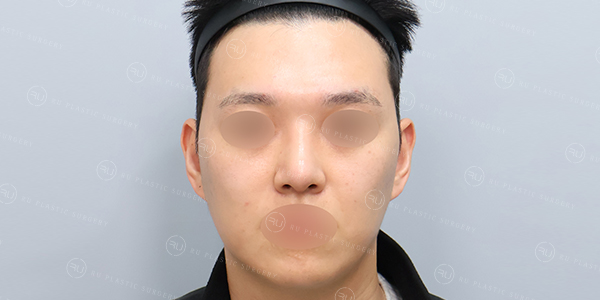
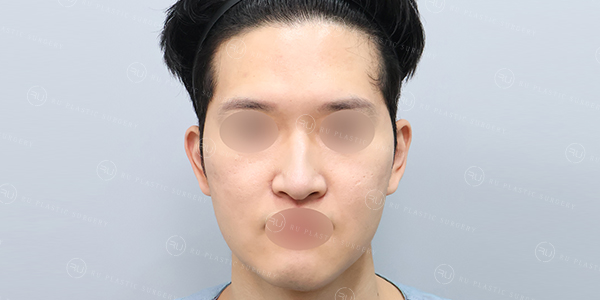
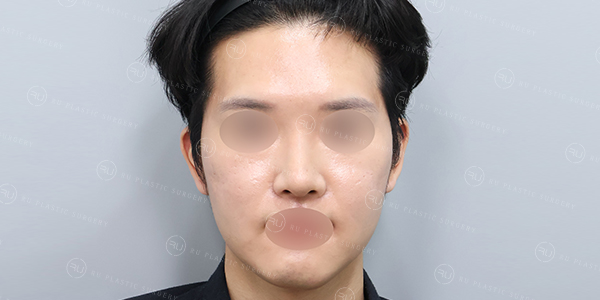
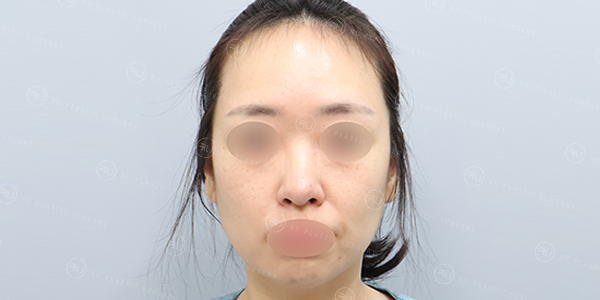
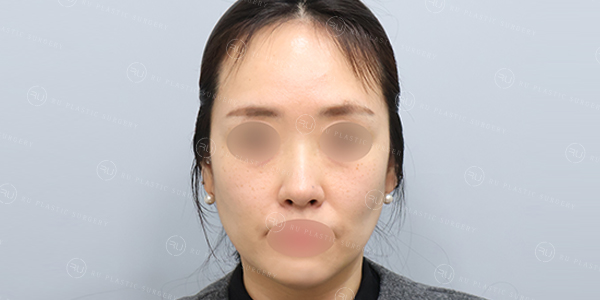
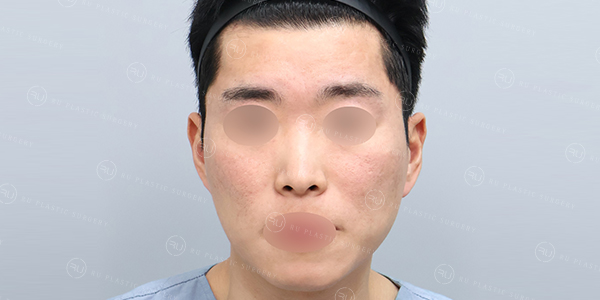
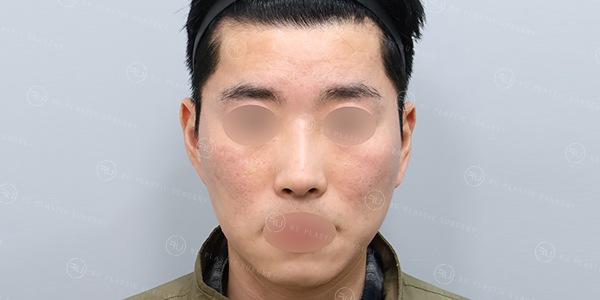
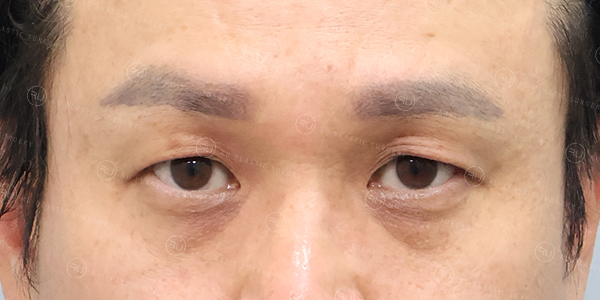
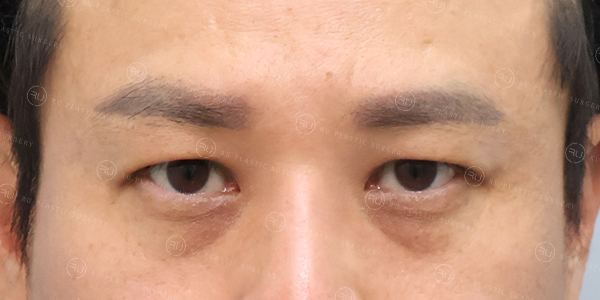
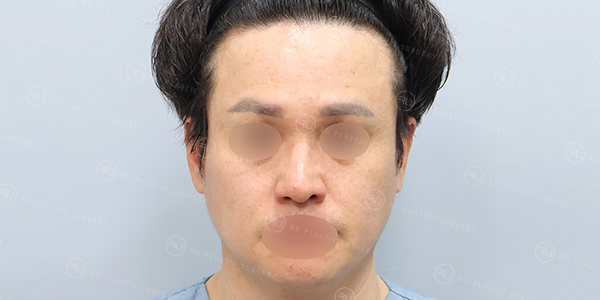
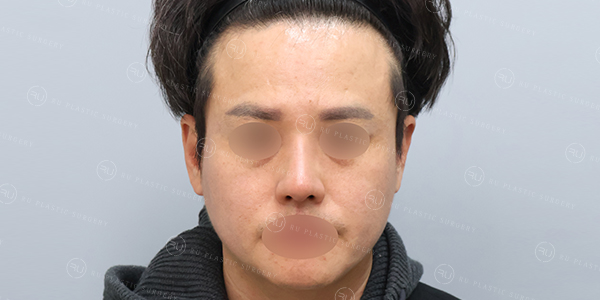
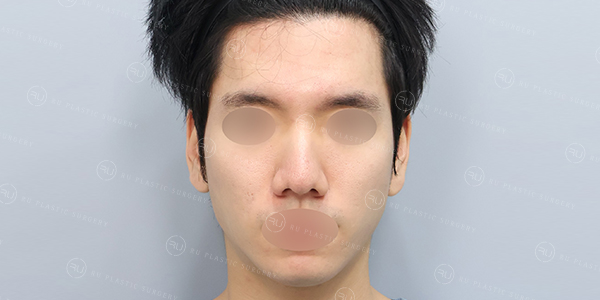
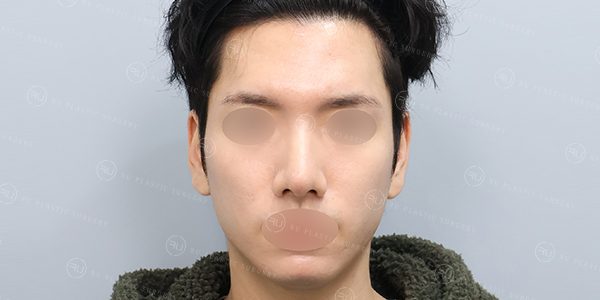
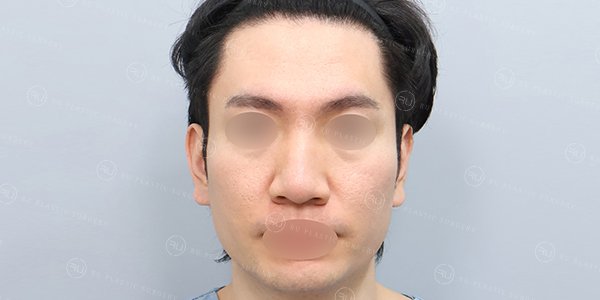
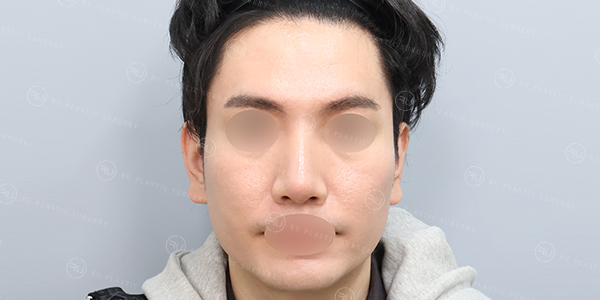
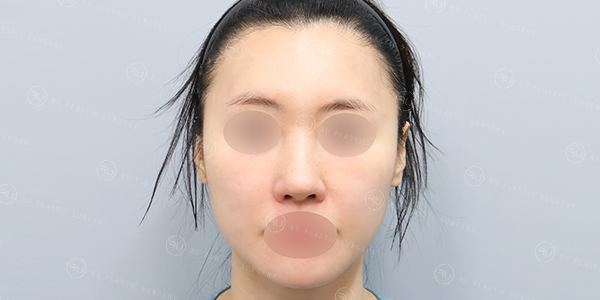
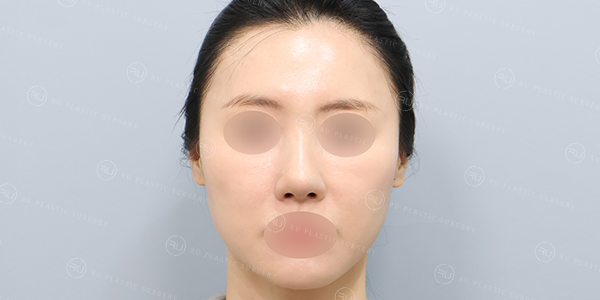
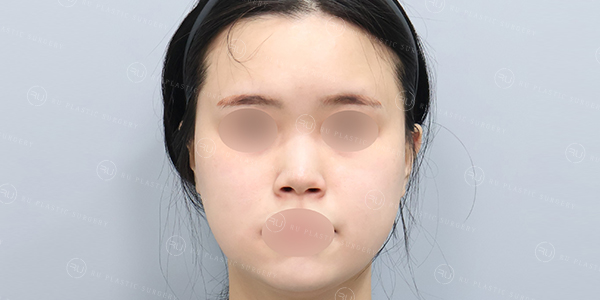
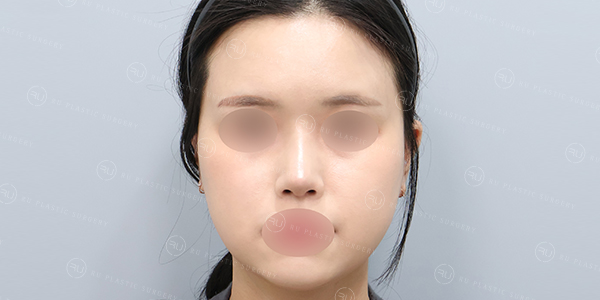
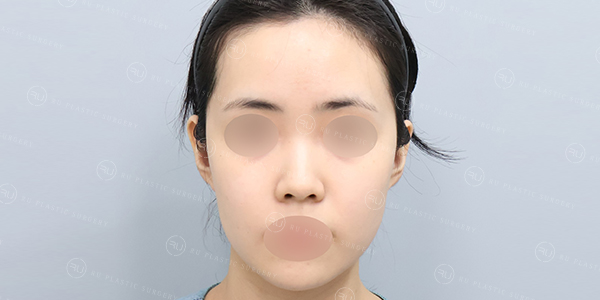
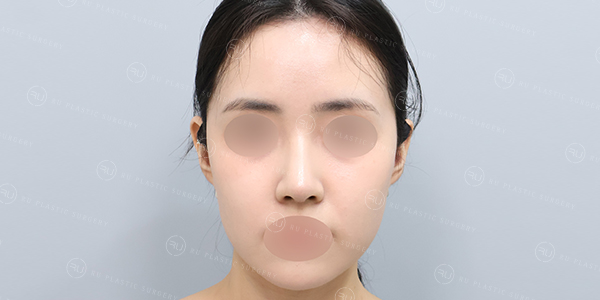
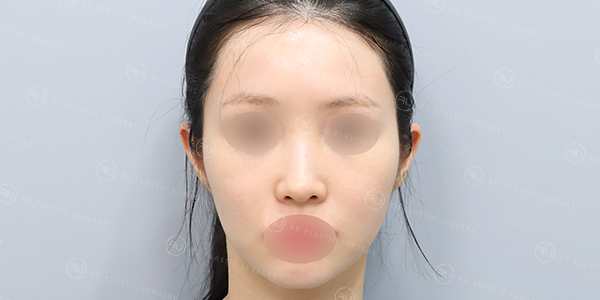
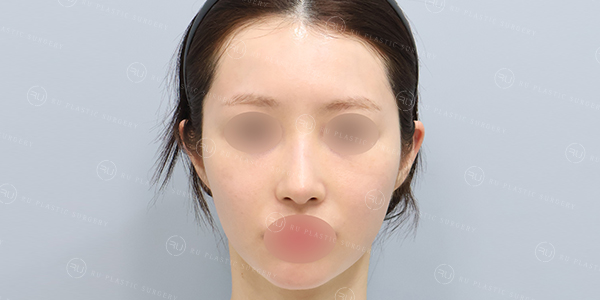
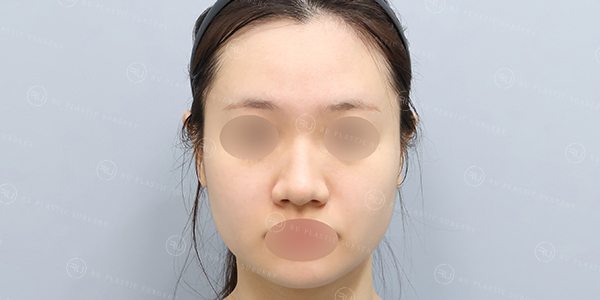
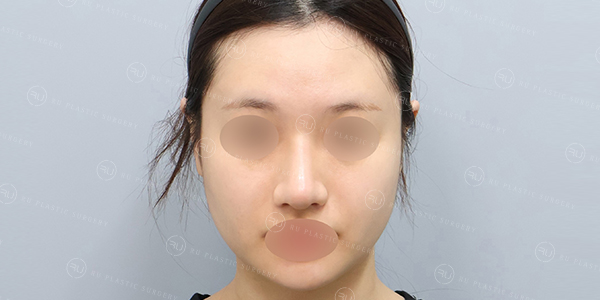
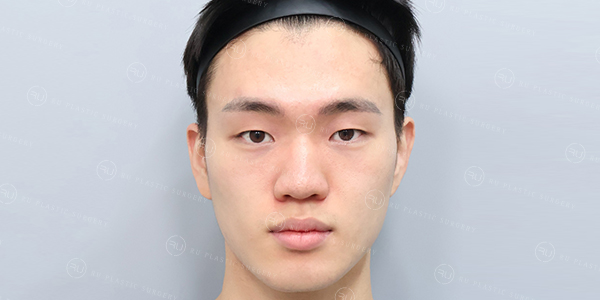
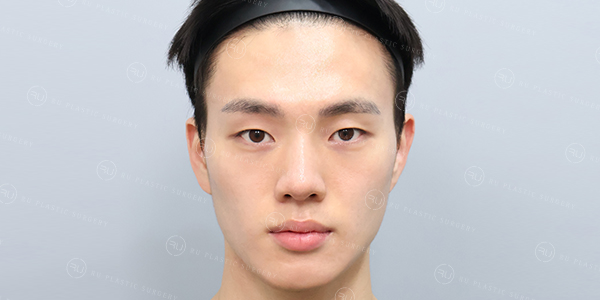
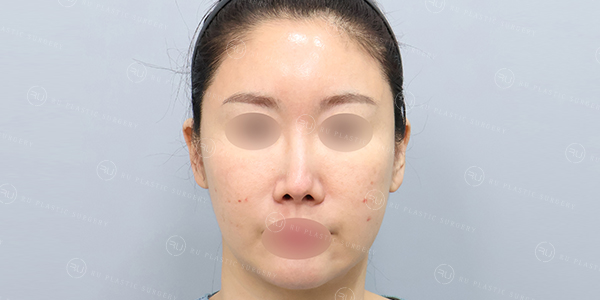
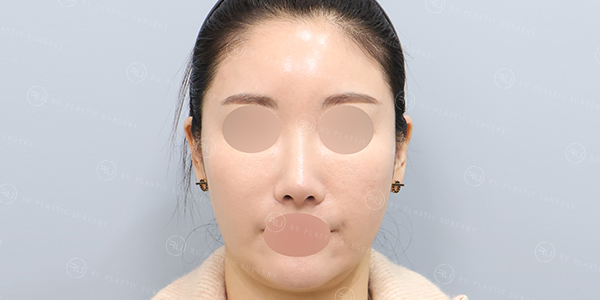
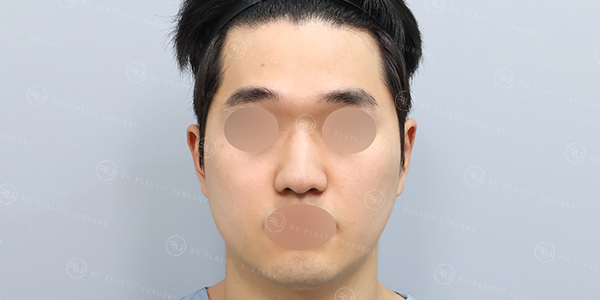
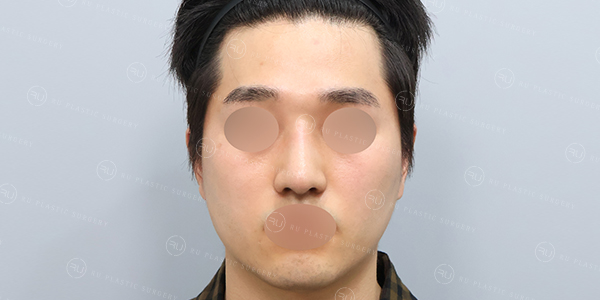
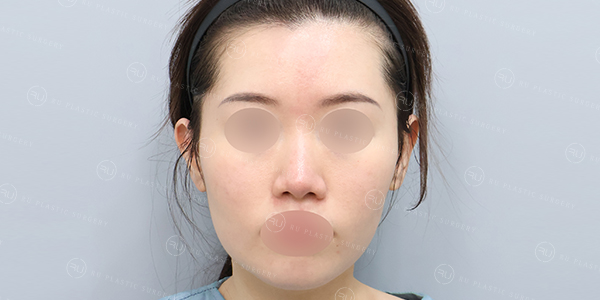
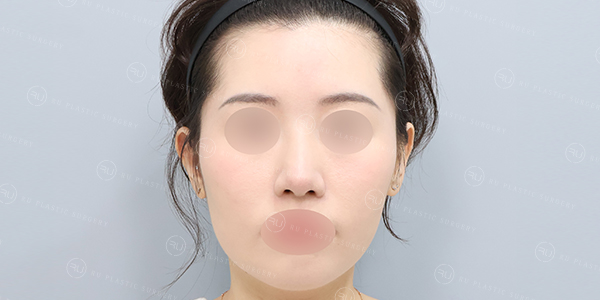
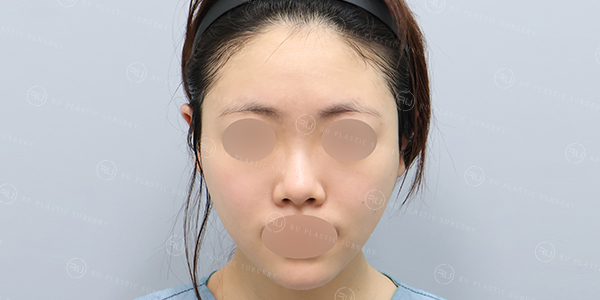
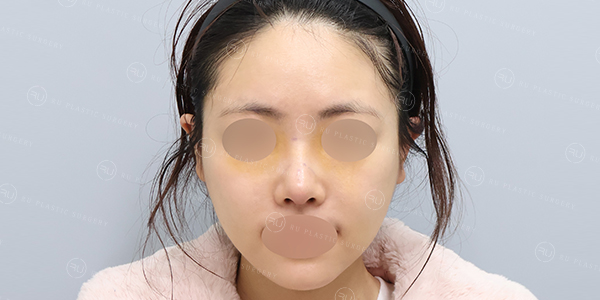
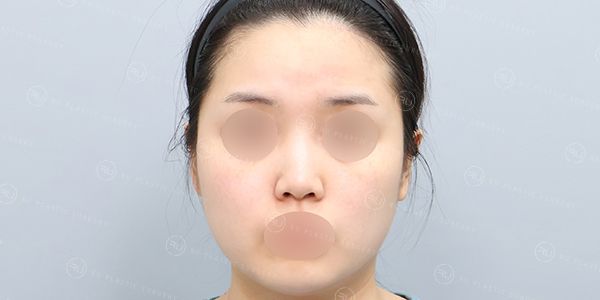
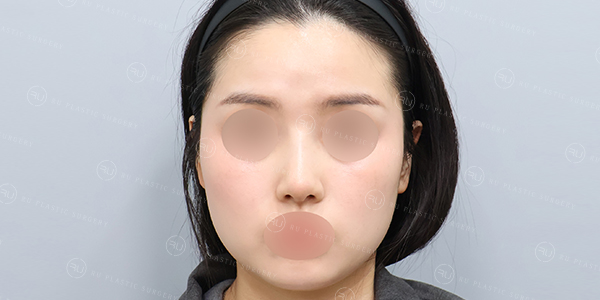
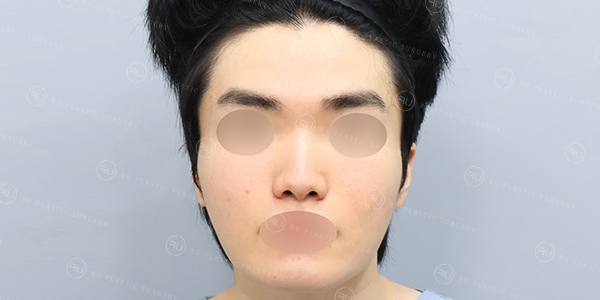
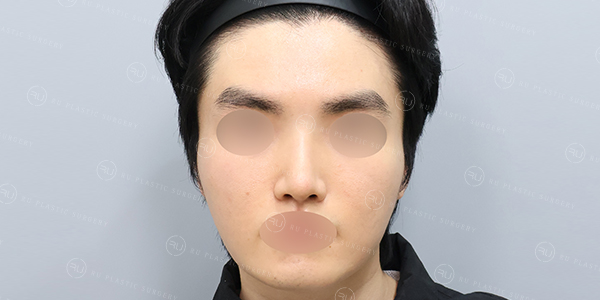
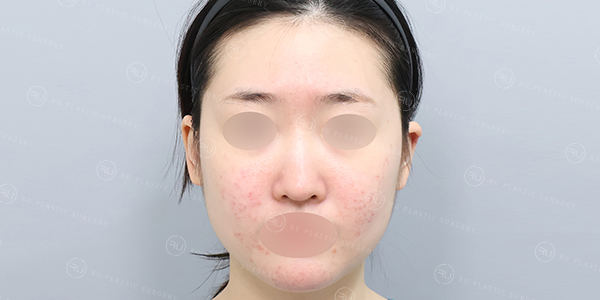
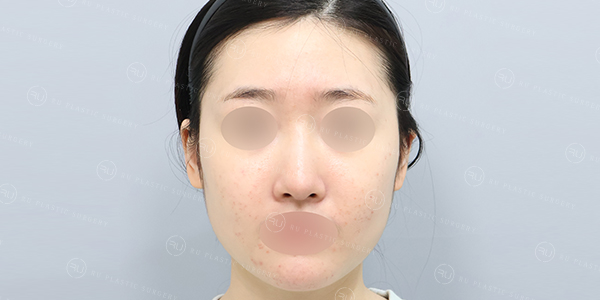
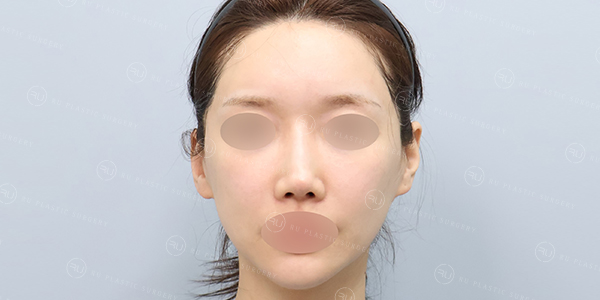
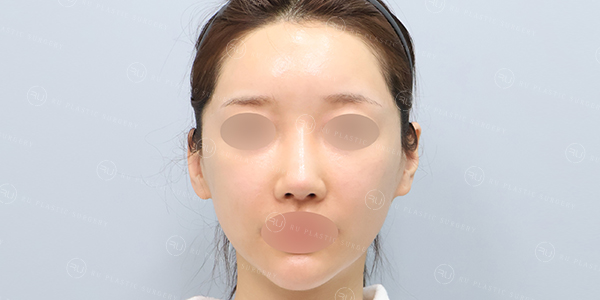
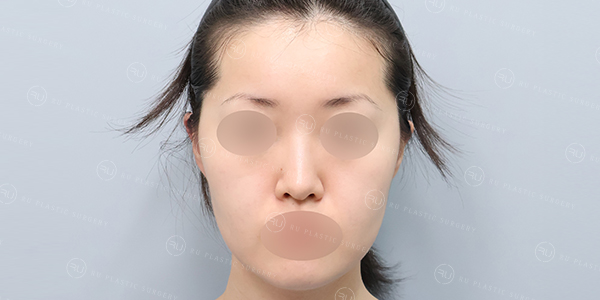
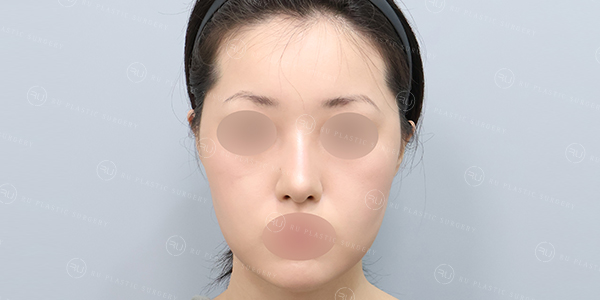
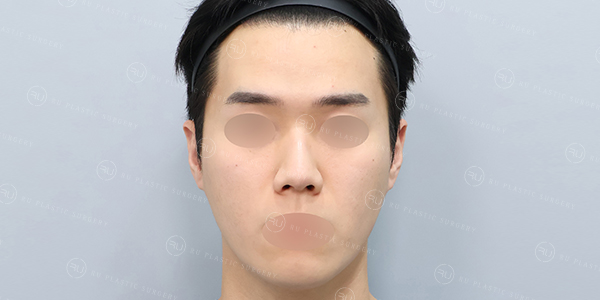
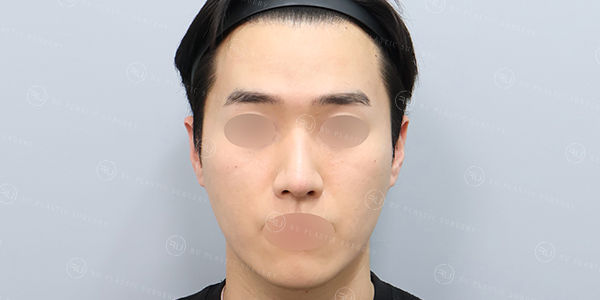
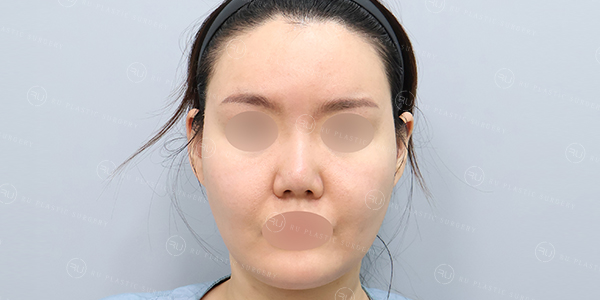
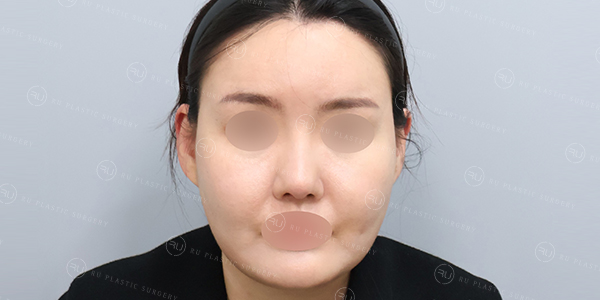
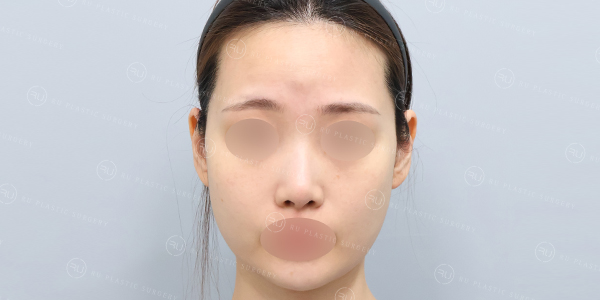
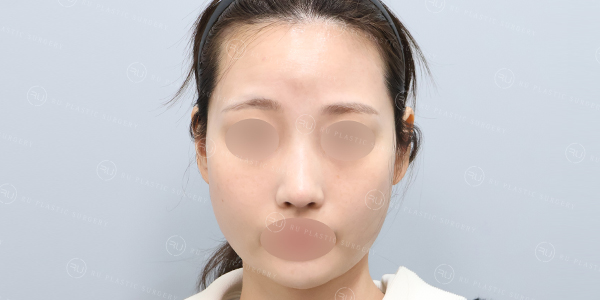
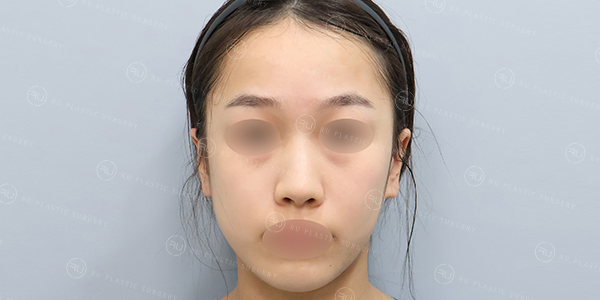
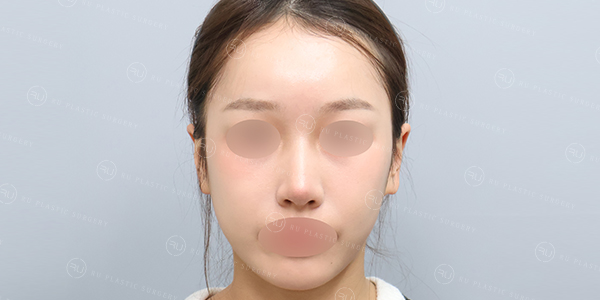
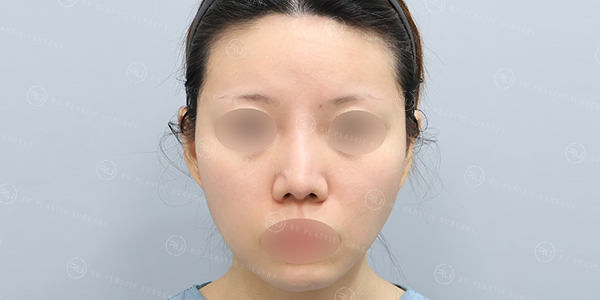
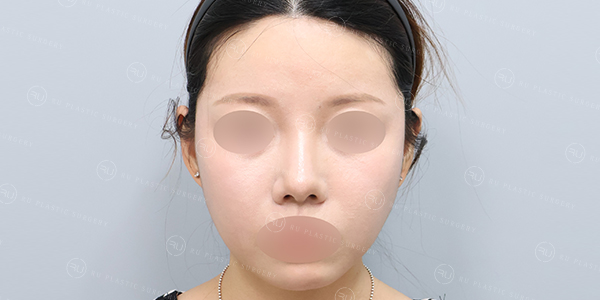
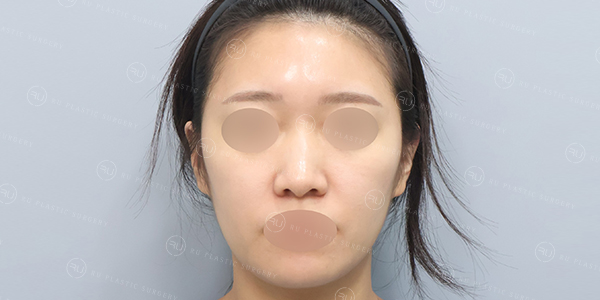
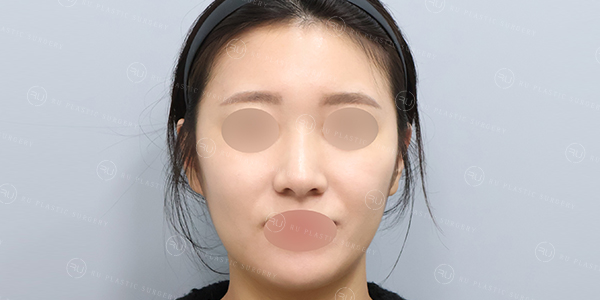
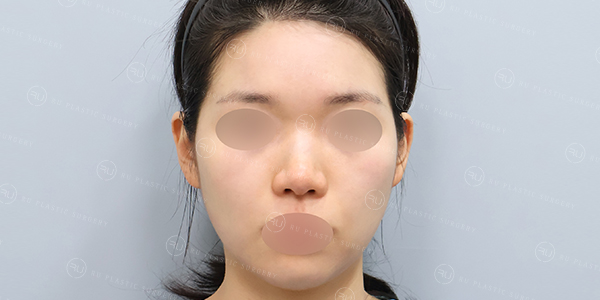
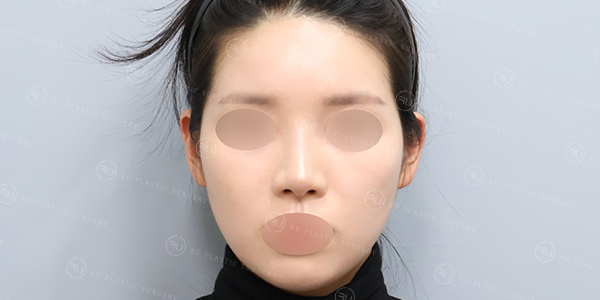
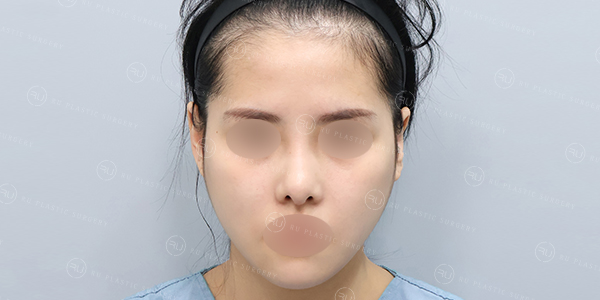
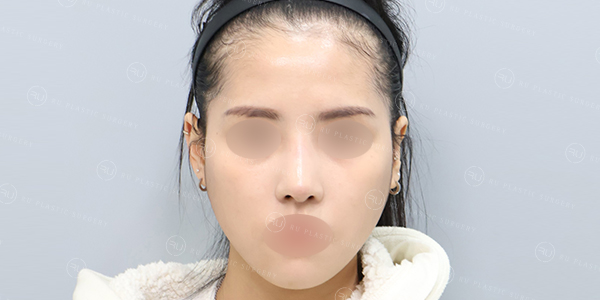
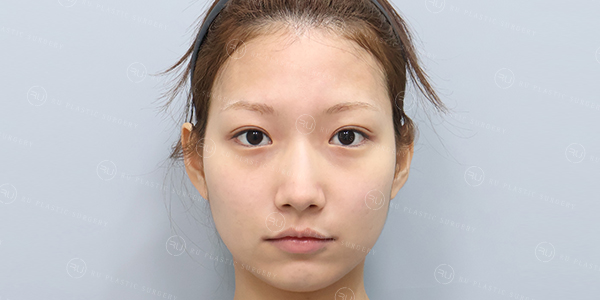
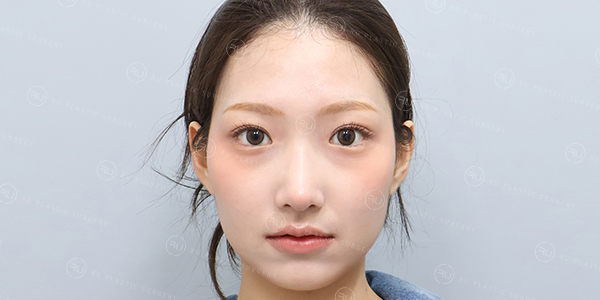
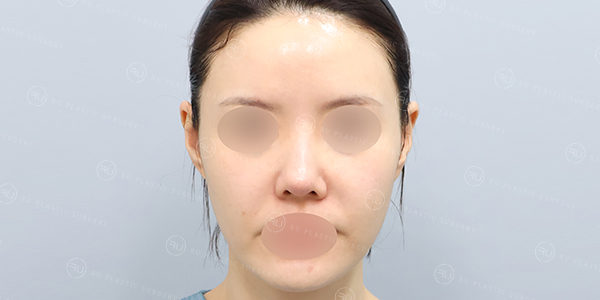
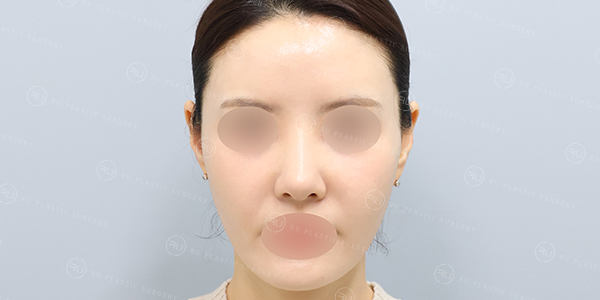
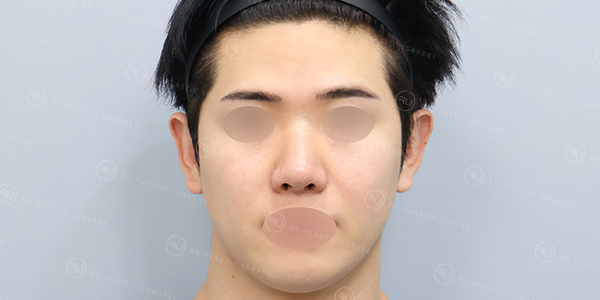
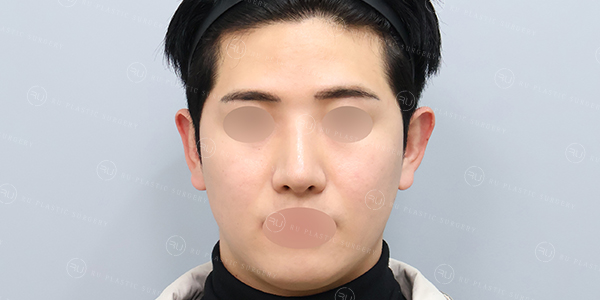
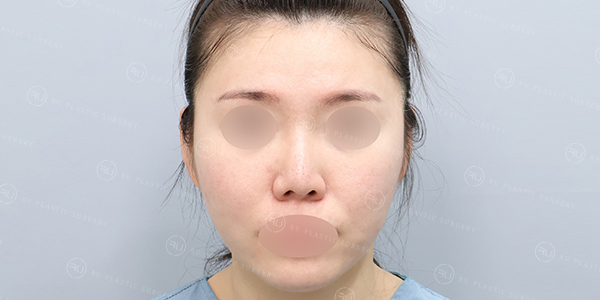
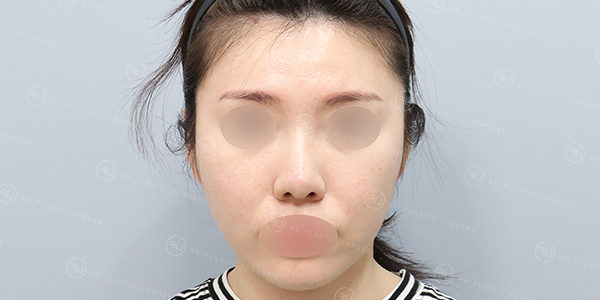
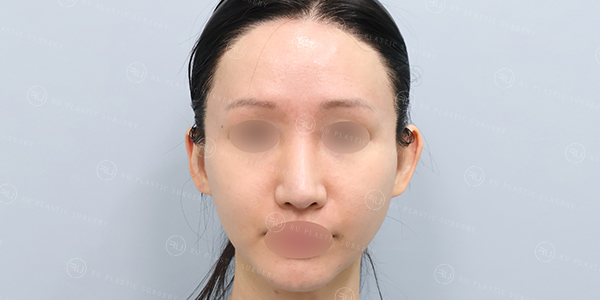
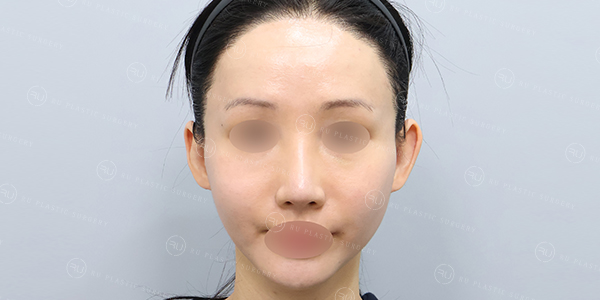
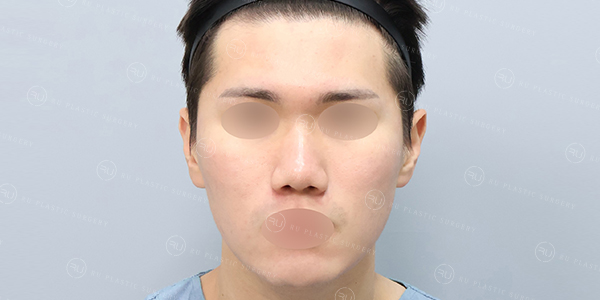
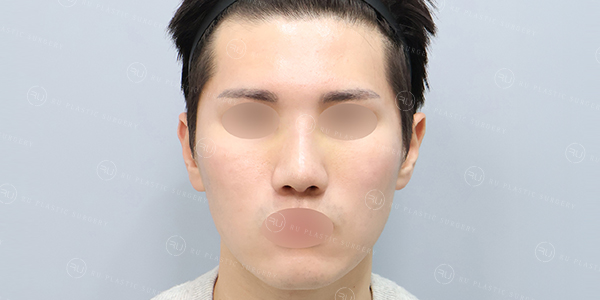
Week 1 Postoperative Review – Silicone Bridge + Autologous Rib Cartilage Tip
본문
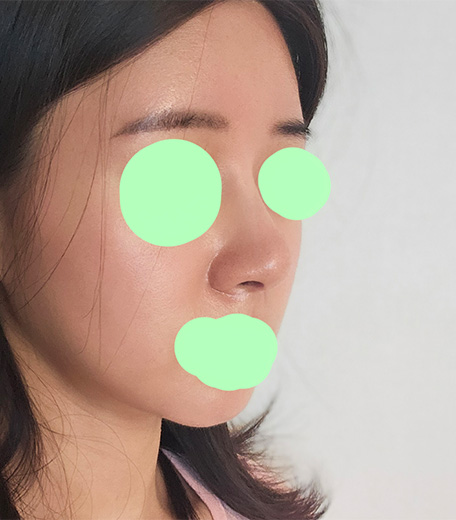
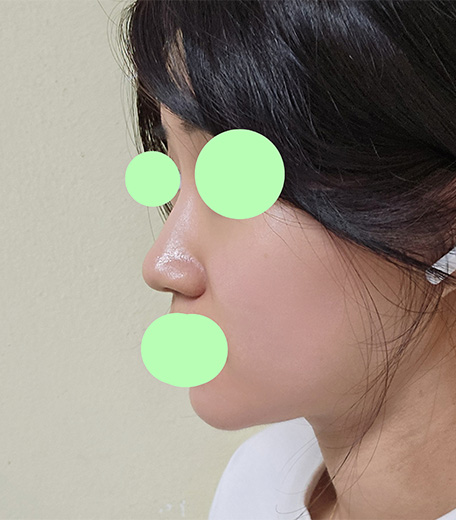
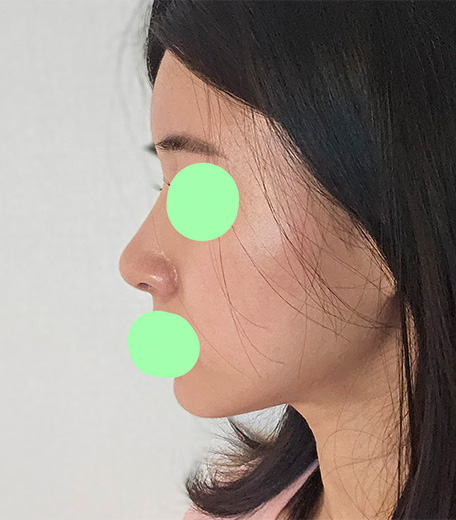
1. Why I Decided to Get Nose Surgery
I’ve always felt self-conscious about my rounded nasal tip.
Photos never seemed to capture how I actually looked in real life, which was a constant source of stress.
I longed for a more refined, slightly higher and slimmer nose that would better complement my features.
2. How I Chose the Clinic
I first discovered RU Plastic Surgery through a YouTuber’s vlog.
That led me to do deeper research on various forums like “Sungyesa.”
These days, many before-and-after images on apps are heavily edited,
so I put more weight on unfiltered video content when researching.
That’s when I came across the "Neukddae-seonsaeng" YouTube channel,
and seeing countless natural and beautiful results gave me real confidence in the clinic.
I decided to book a consultation.
3. Consultation and Surgery Details
I had my consultation with Dr. Hyun Joo Kim, and we decided on
a silicone implant for the bridge and autologous rib cartilage for the tip.
I requested a natural bridge height, nothing too prominent,
and left the specific millimeters to Dr. Kim’s judgment.
Although I originally thought a lower starting point for the nasal bridge might suit me better,
Dr. Kim explained that a slightly higher start would better suit my overall facial structure—
so I trusted her and went with her recommendation.
For the nasal tip, we agreed on a subtle upward rotation, avoiding anything overly extended.
We also included correction of the nasolabial angle.
Rather than insisting on specific details,
I emphasized that I wanted the result to look “as natural as possible” and entrusted the rest to Dr. Kim’s expertise.
4. Recovery Process and Satisfaction
Recovery progressed faster than I expected.
On the first day, I experienced significant nausea and dizziness,
but I believe that was more due to my individual reaction to general anesthesia.
From what I’ve heard, most people don’t experience it that severely.
Surprisingly, I had no pain at the rib cartilage donor site,
and I had no major issues breathing through my nose.
The moment the nasal packing was removed on the second day, I could breathe so clearly that I was genuinely shocked.
Here’s a quick day-by-day summary:
Day 1: Nausea and dizziness were tough, but rib site was not painful.
Day 2: Minimal discomfort; could breathe about 50% through the nose.
Day 3: Breathing was about 70% normal.
Day 4 onward: Over 90% breathing capacity; no disruption to daily life.
Other than the nausea, I honestly found this less painful than I had imagined—maybe even less than typical rhinitis surgery.
However, swelling was quite severe, which was mentally challenging.
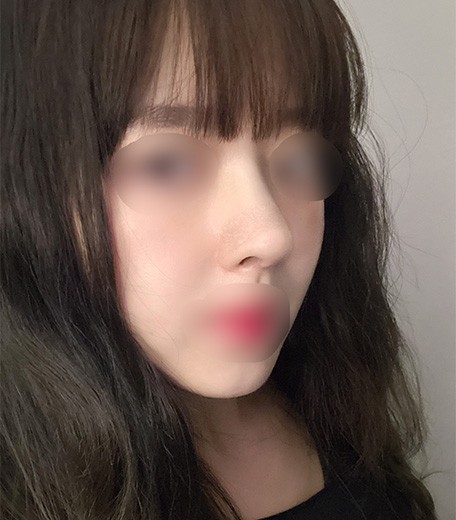
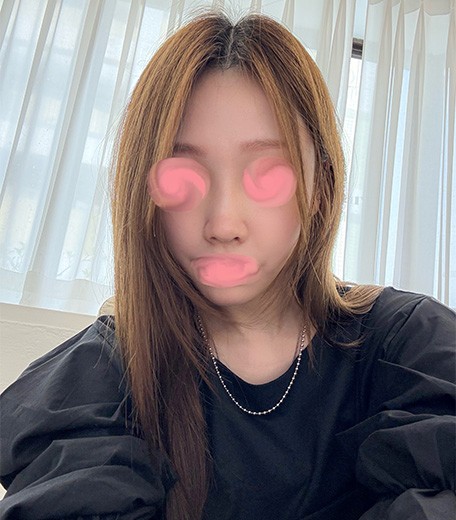
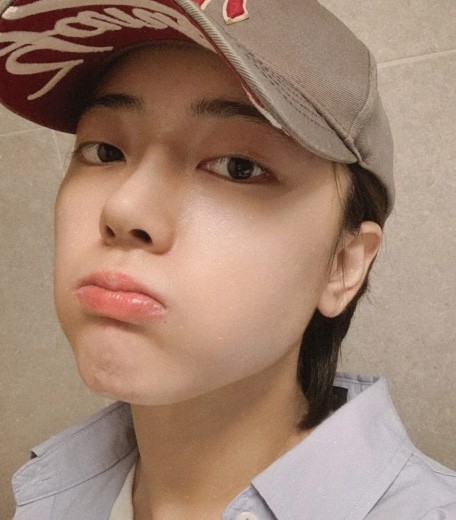
By day 7, the swelling made my face look off—like a longer philtrum, close-set eyes, even somewhat monkey-like.
It took a lot of mental strength not to panic, and I actually cried once after looking in the mirror.
Looking back, maintaining a positive mindset and trusting the process was critical during that period.
5. Improvements and Current Satisfaction
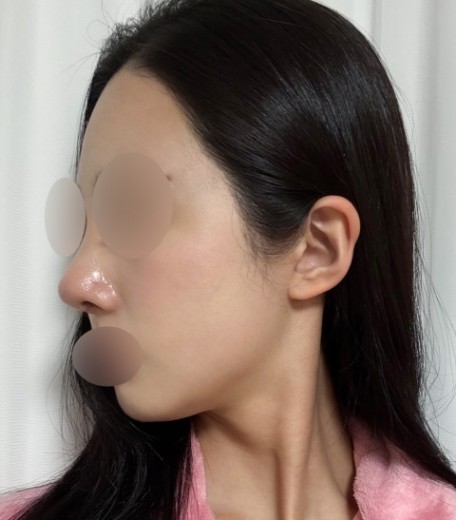
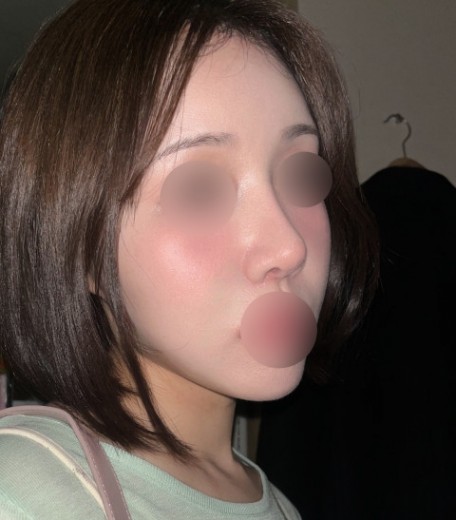
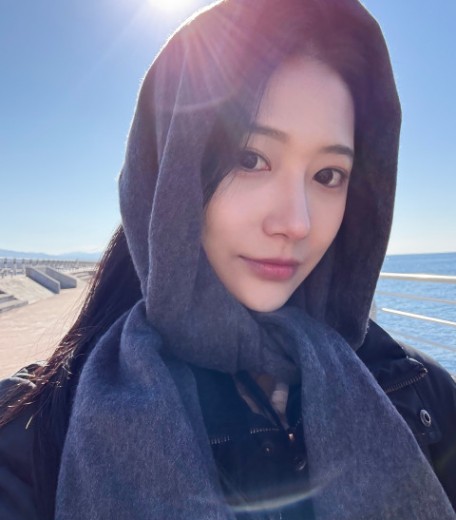
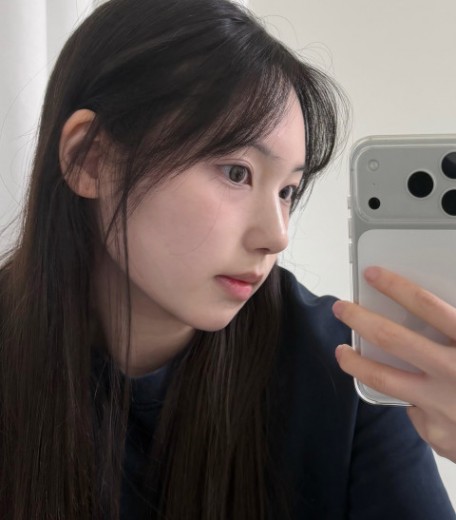
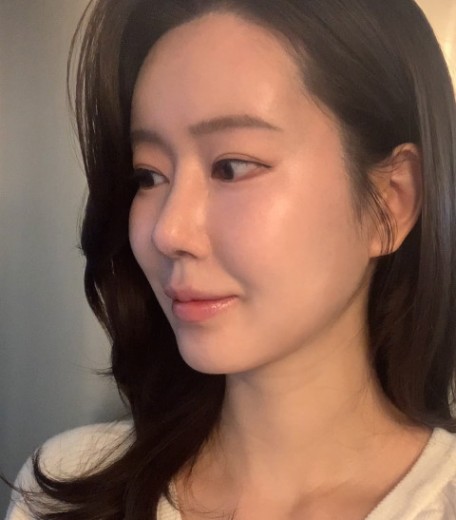
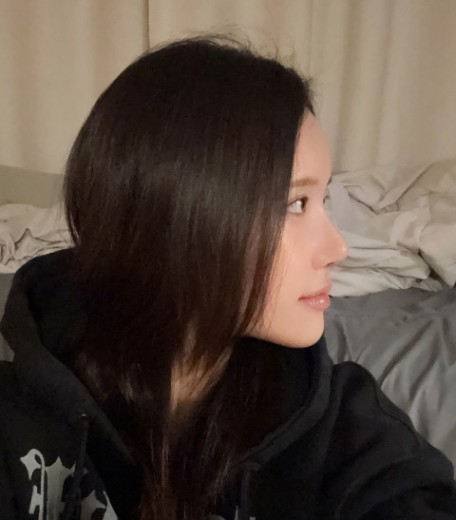
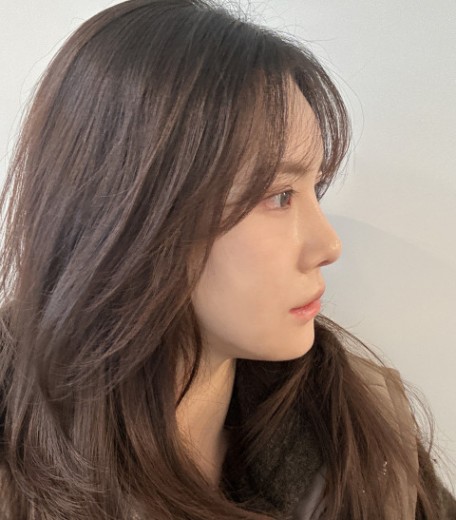
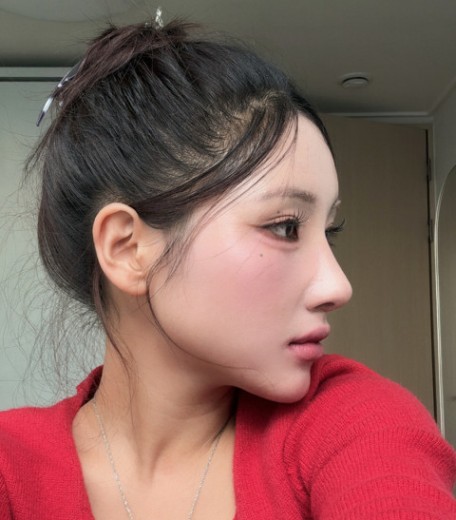
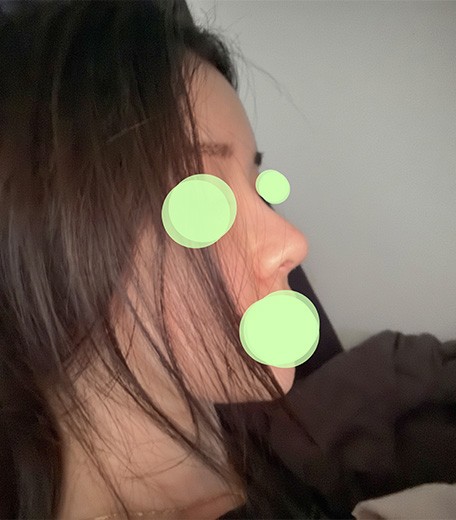
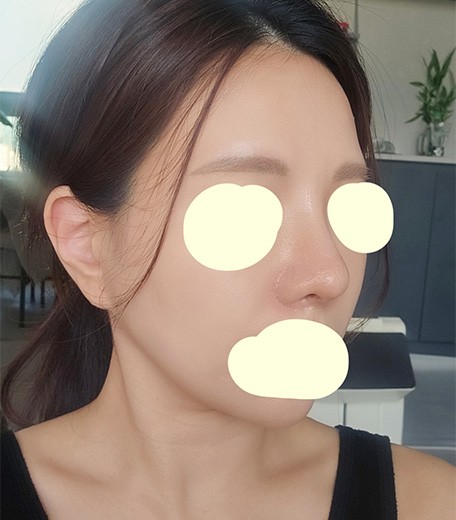
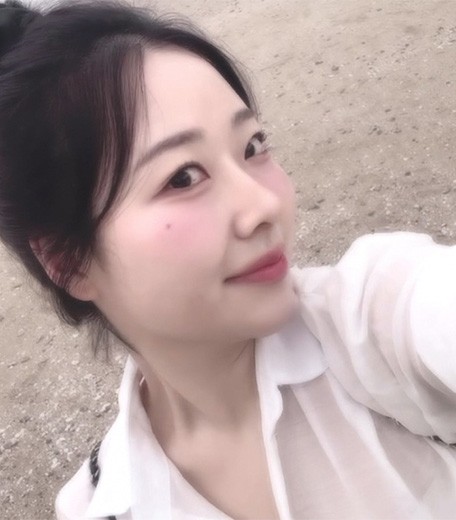
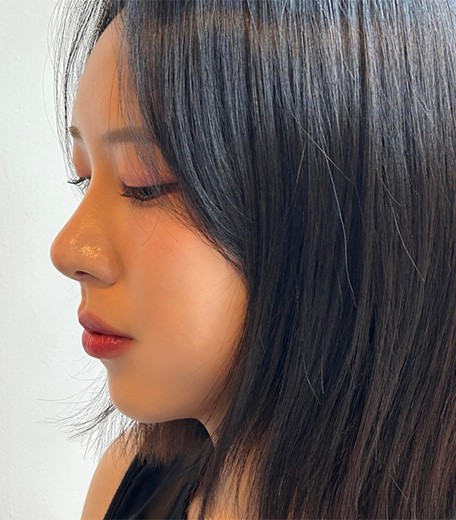
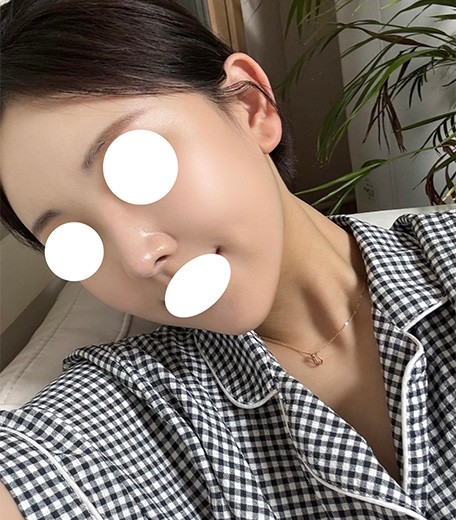
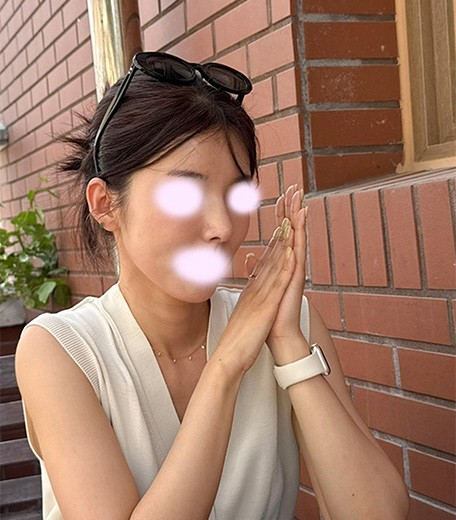
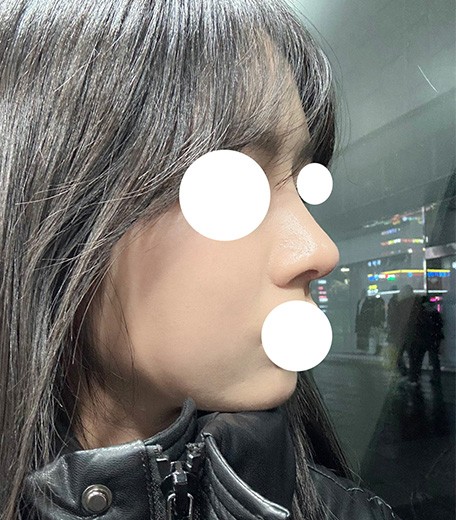
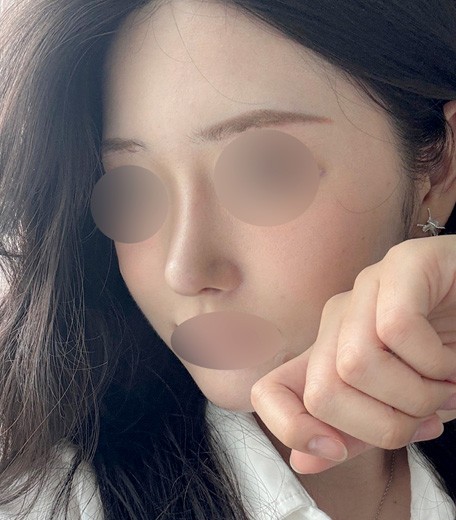
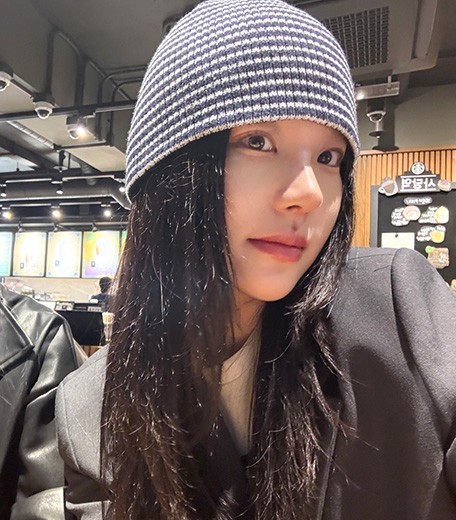
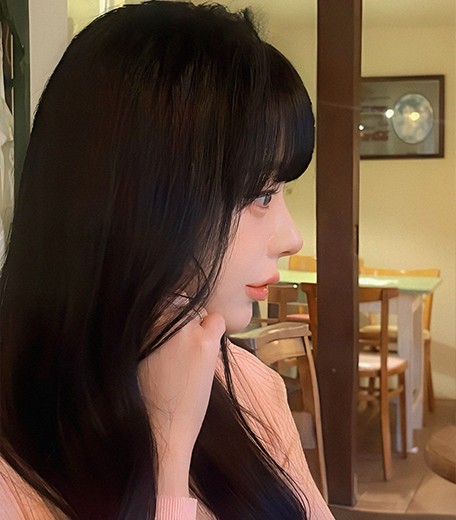
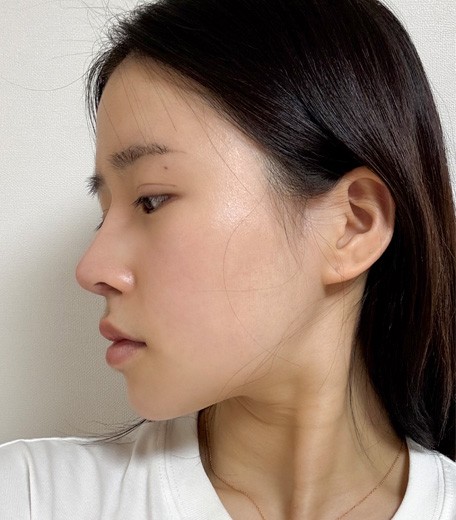
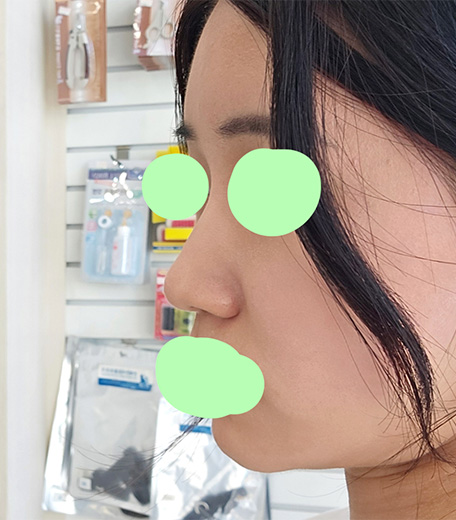
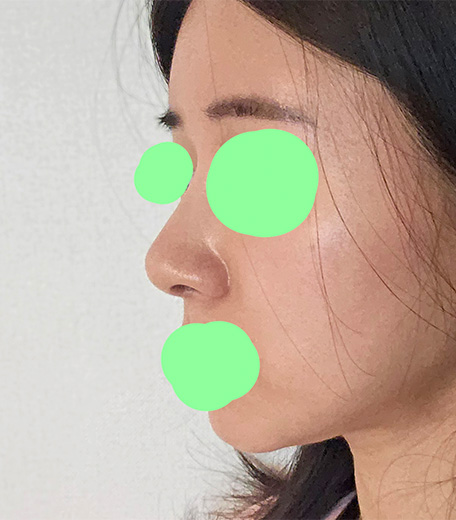
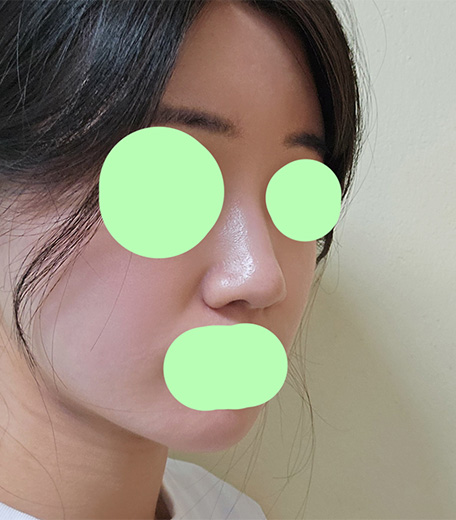
My side profile has improved dramatically, and my frontal view looks much more natural.
The swelling hasn’t fully gone down yet, so some facial muscle movement still feels a bit stiff and my philtrum looks a bit long.
Still, I’m very happy with how the nose looks so far—
it’s definitely more defined and gives off a more intelligent, sophisticated vibe.
This has been an honest look at my nose surgery journey.
Once the swelling completely subsides and everything settles,
I’m confident I’ll be even more satisfied with the final result.
If you’re considering nose surgery at RU Plastic Surgery,
I hope this review was helpful!